Rail lighting
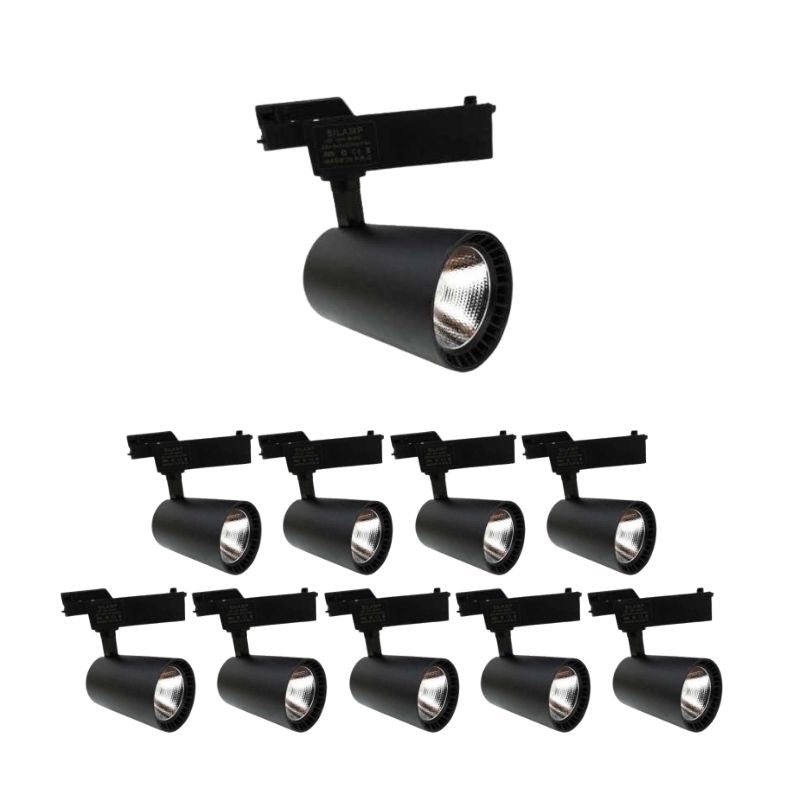
39 products


39 products
Opt for a selection of quality single -phase rail bars. Take advantage of a wide choice and save on LED illuminating your interior with your rail. Many powers, lighting colors, models are available online. Choose quality LED lighting with these luminaries on rail for your interior. Lighting your living space easily and choose your product from a wide choice on Silumen.
Do you have a store that you want to light up optimally? To do it, you could opt for a rail light. So discover the characteristics of this lighting system and many Tips to help you choose the best rail light.
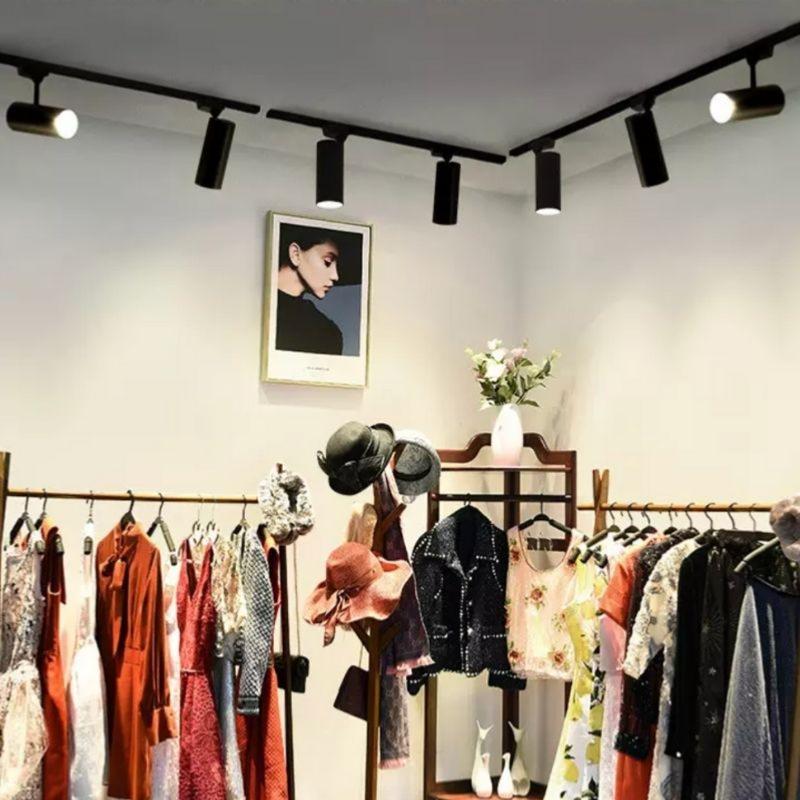
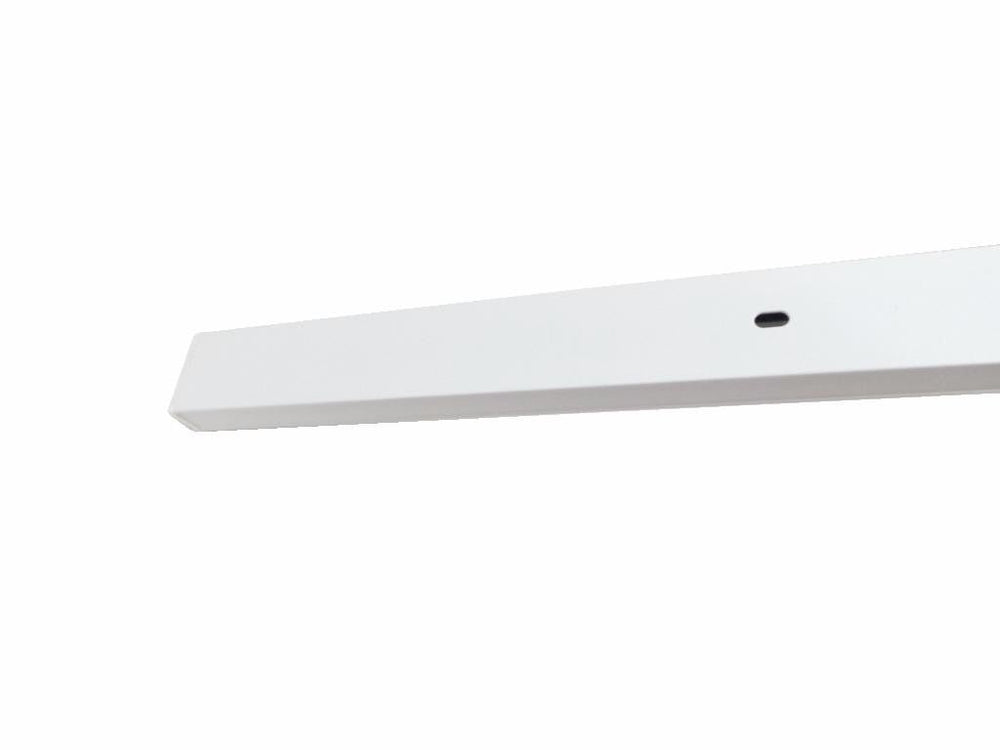
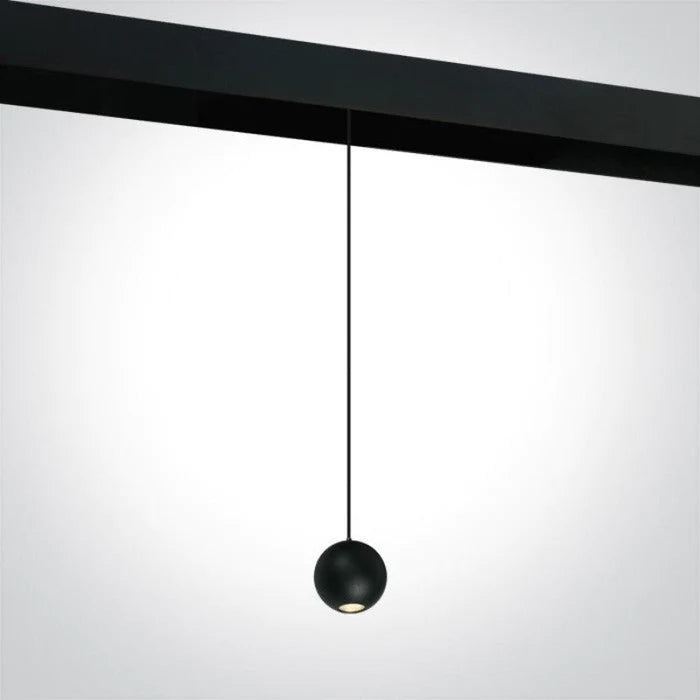
The light rail light is the best type ofLighting for stores, what he owes above all to the many advantages he provides. It is indeed a very effective type of lighting, but also extremely modular. You can easily change the layout of your lighting on rail. In addition, it is a very aesthetic light that can be used for decorating your store. Finally, it is a lighting system that is very simple to install. It is generally enough to put your spot on the rail so that your lighting works.
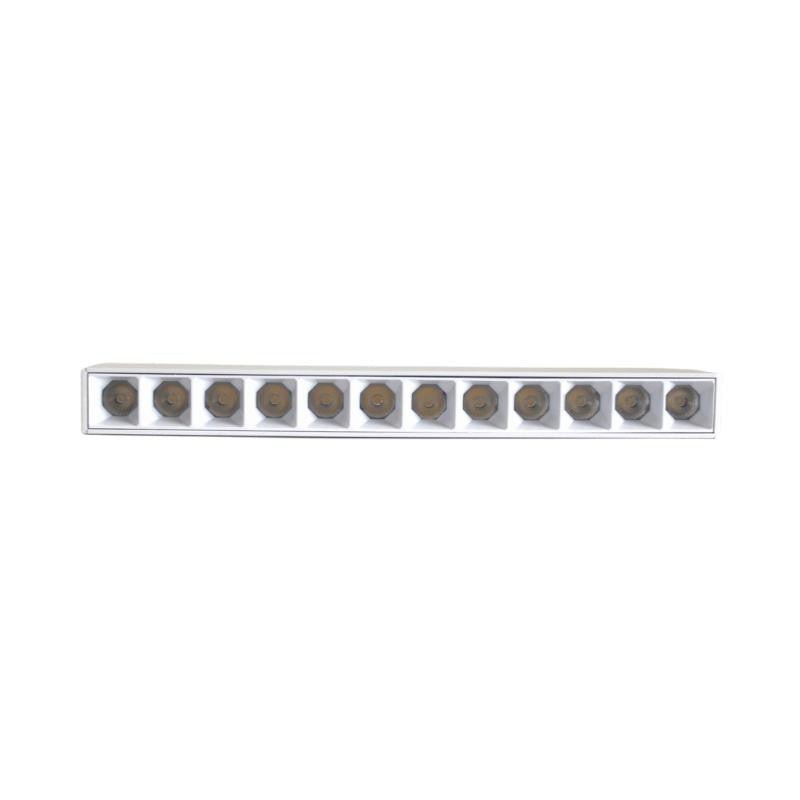
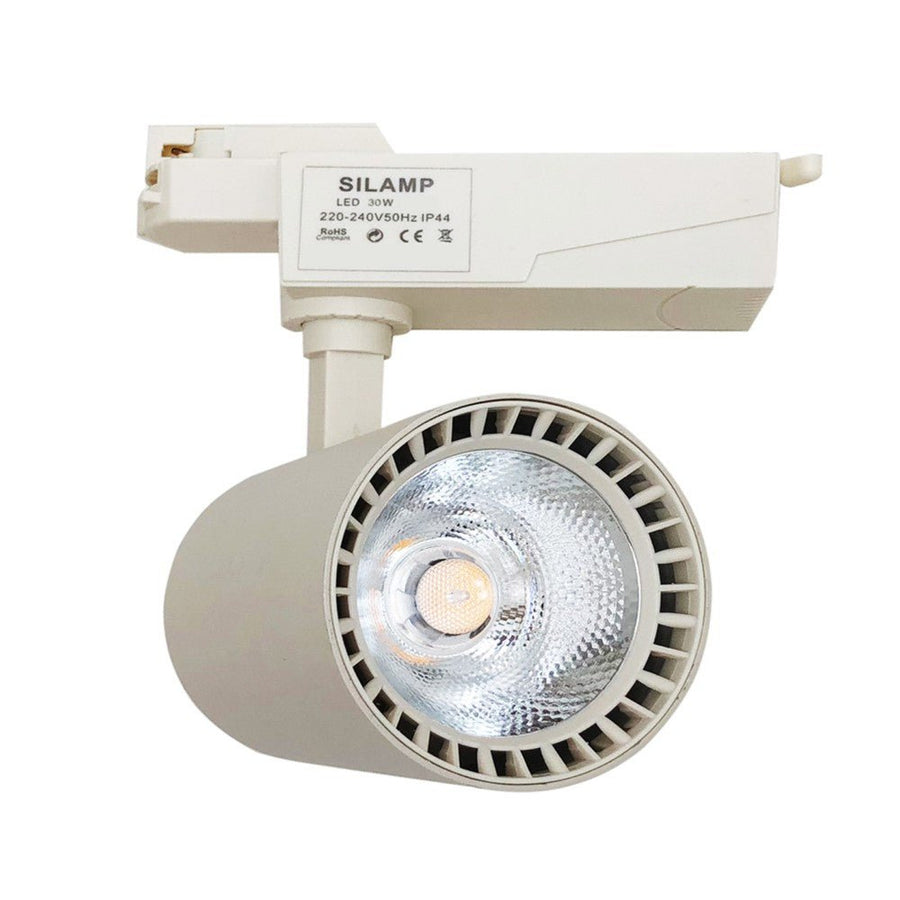
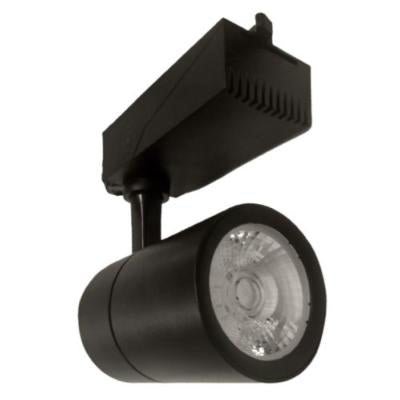
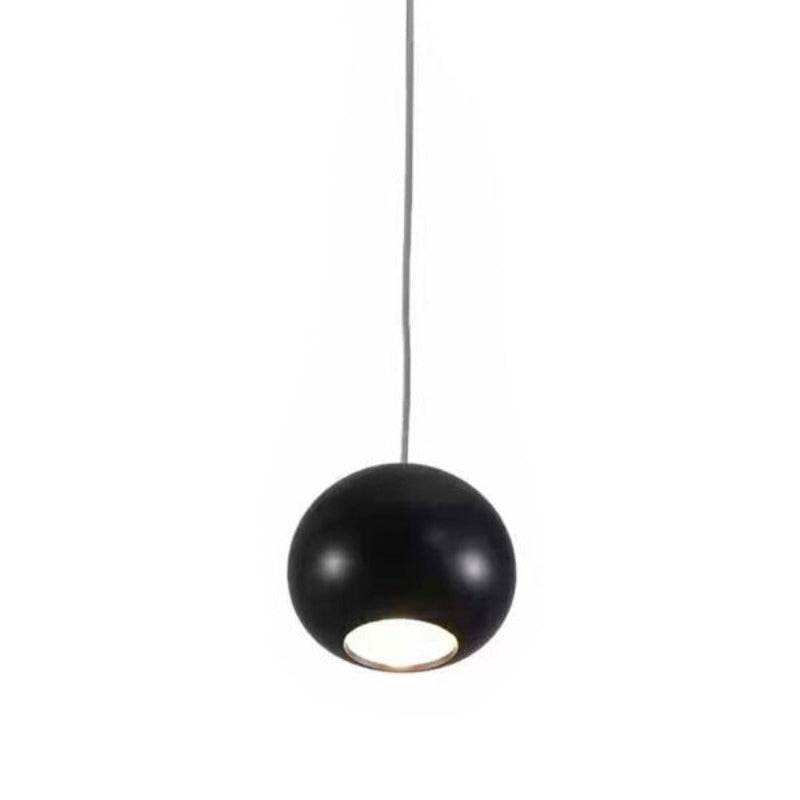
You can indeed Buy a rail light to perform several functions. The latter can for example be used for the general lighting of your store. For this, it is generally necessary to place several spots on a rail, which allows to illuminate a large area. However, this can also make it possible to enjoy adjustable lighting. Thanks to this, you can orient your lighting on a ceiling rail according to your needs. You can get the optimal brightness for your store. Finally, you can also buy a rail light for targeted lighting on a particular area. This is very practical, for example if you want to put certain products forward.
To arrange a rail light, it is important to install several parts. Here are the ones that are essential for its proper functioning and all the information you need to know about them.
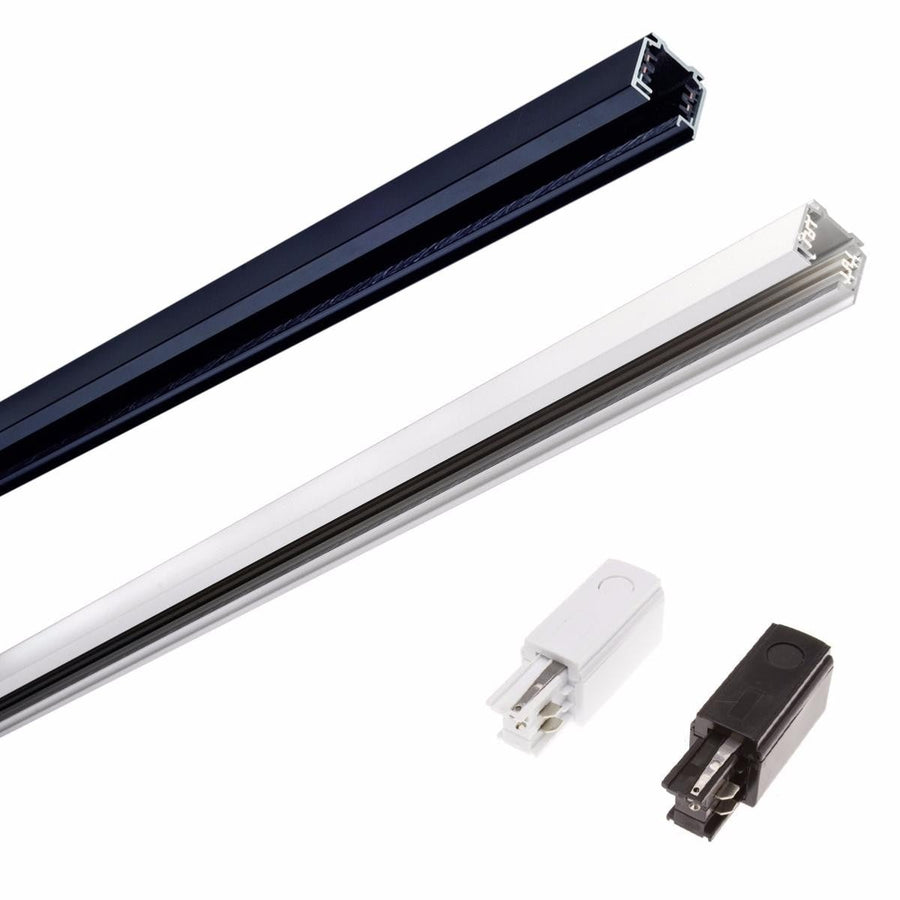
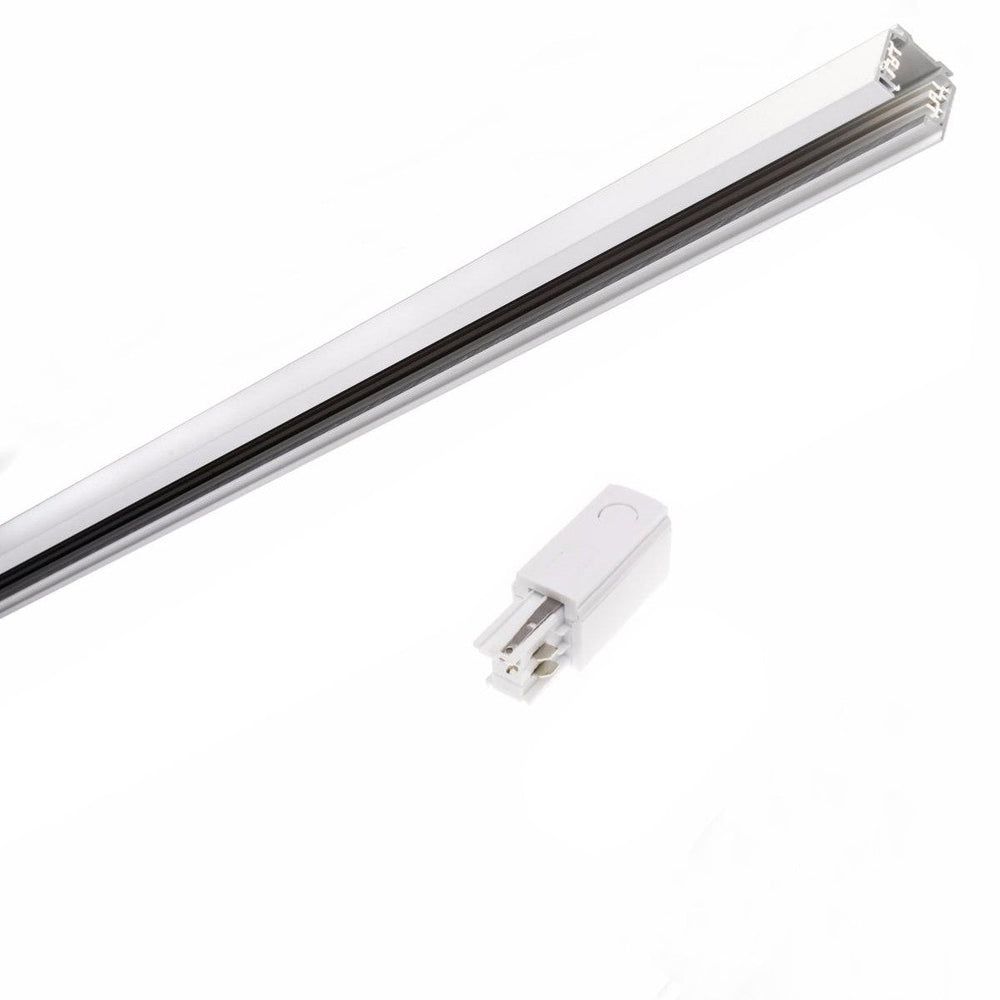
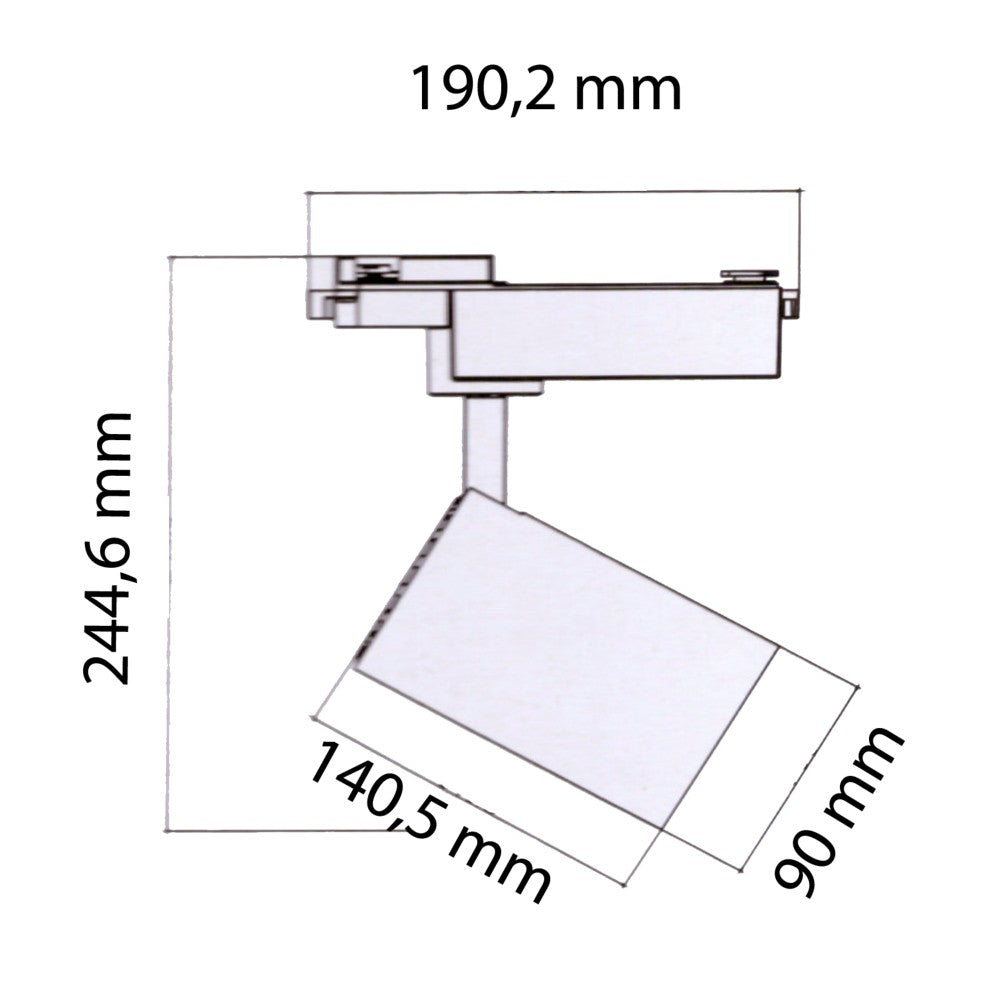
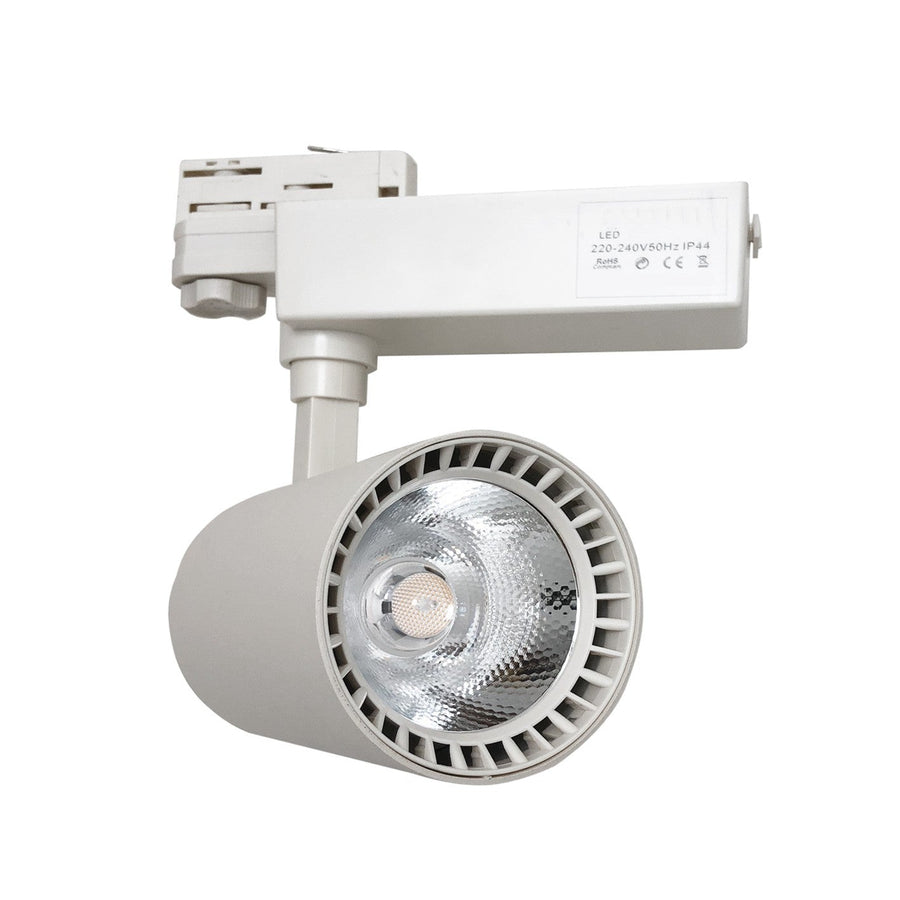
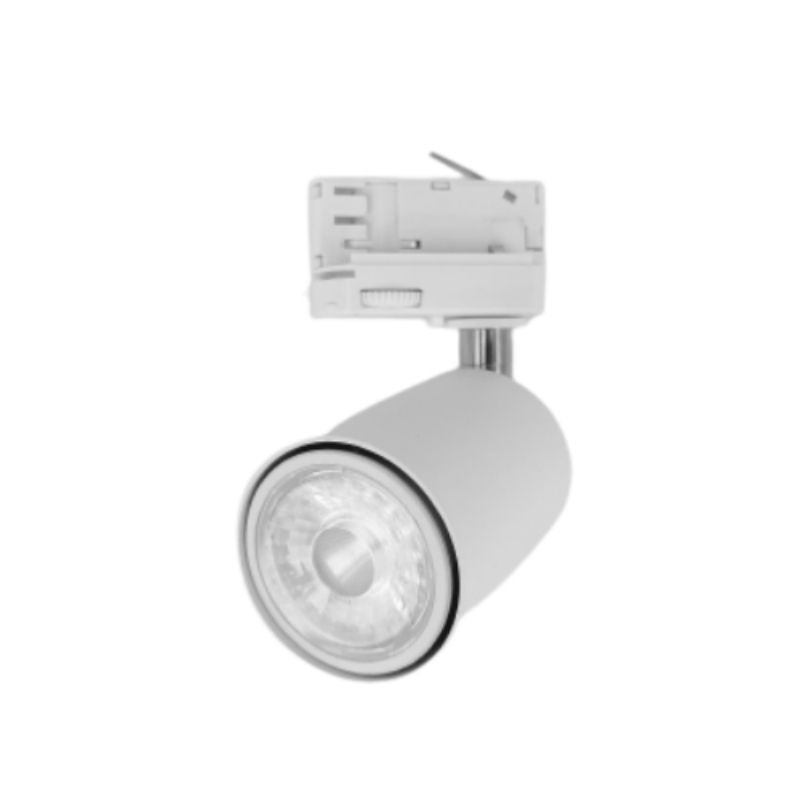
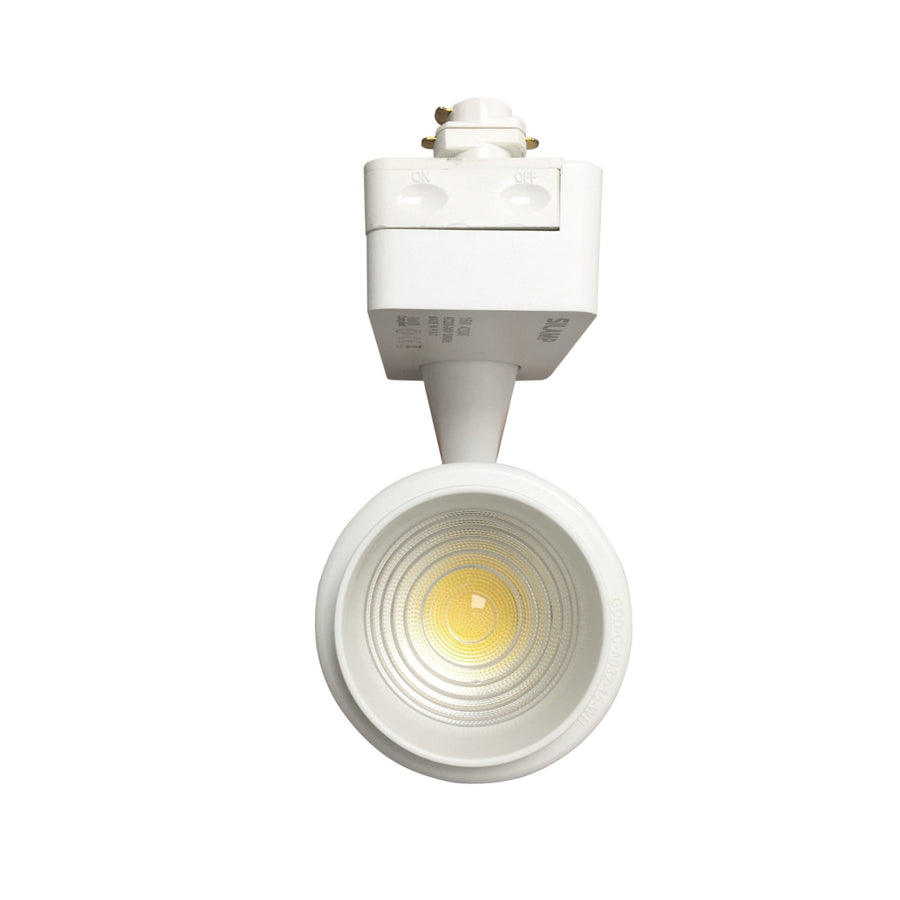
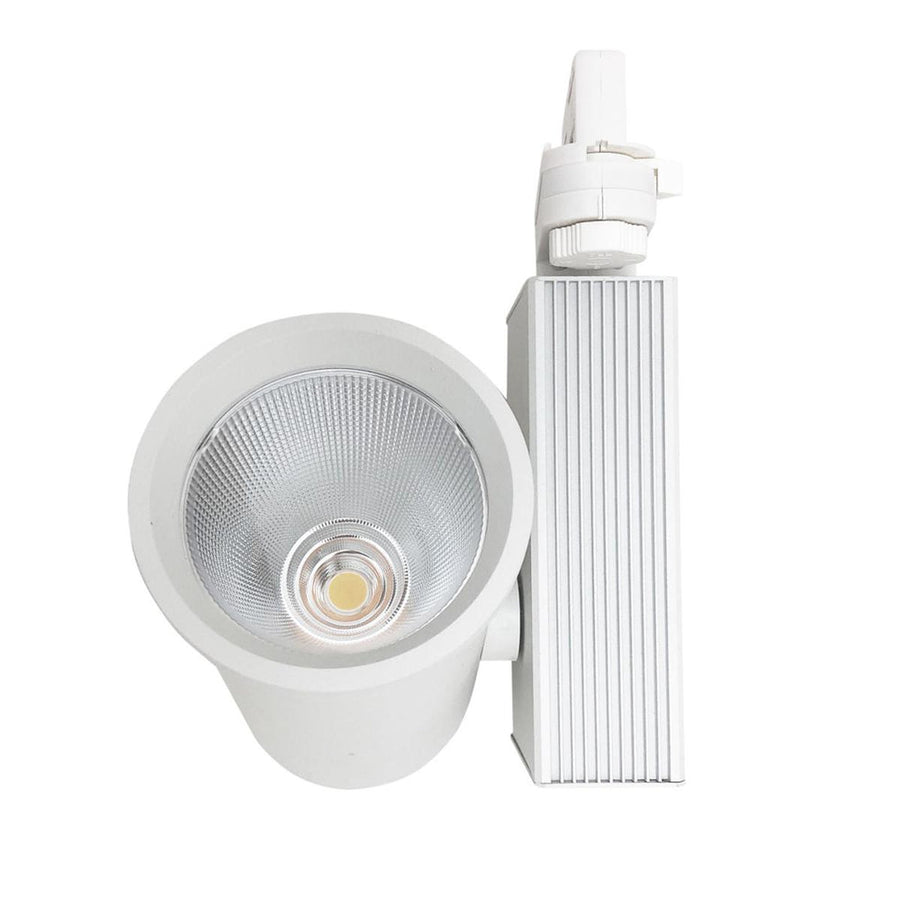
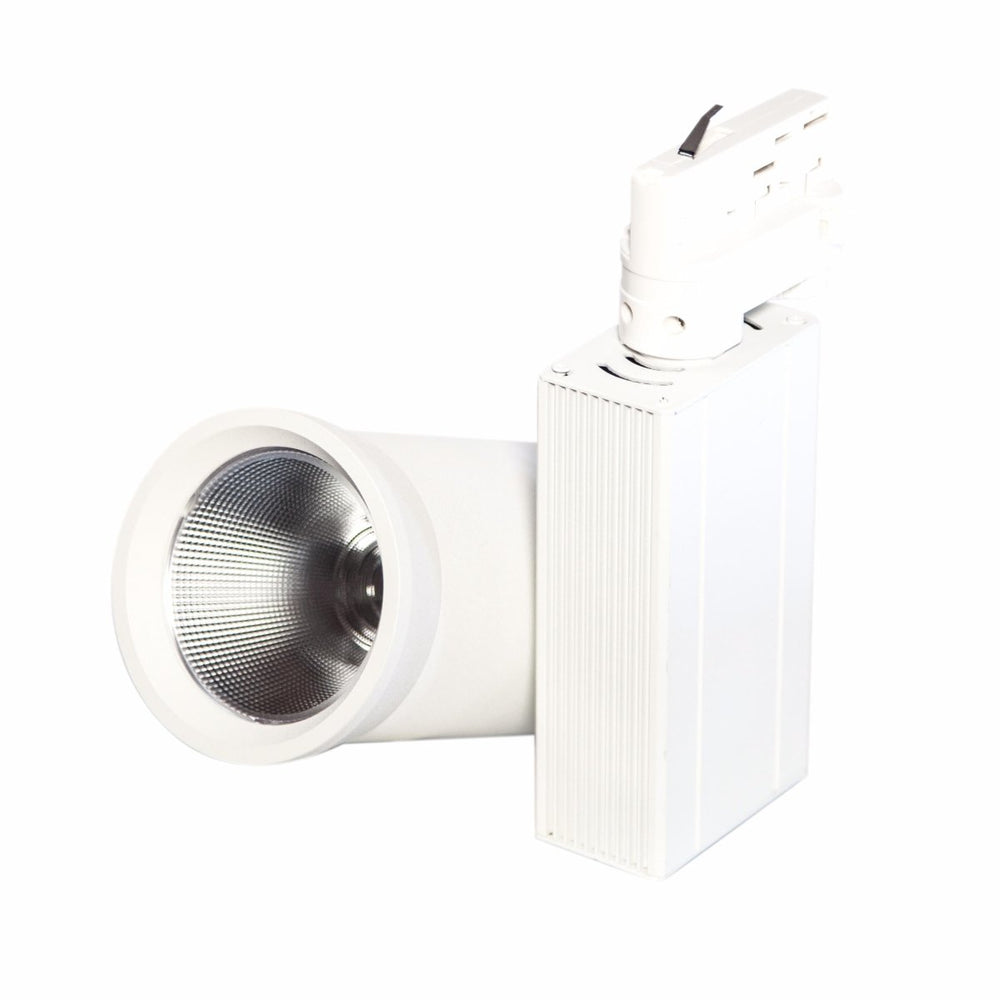
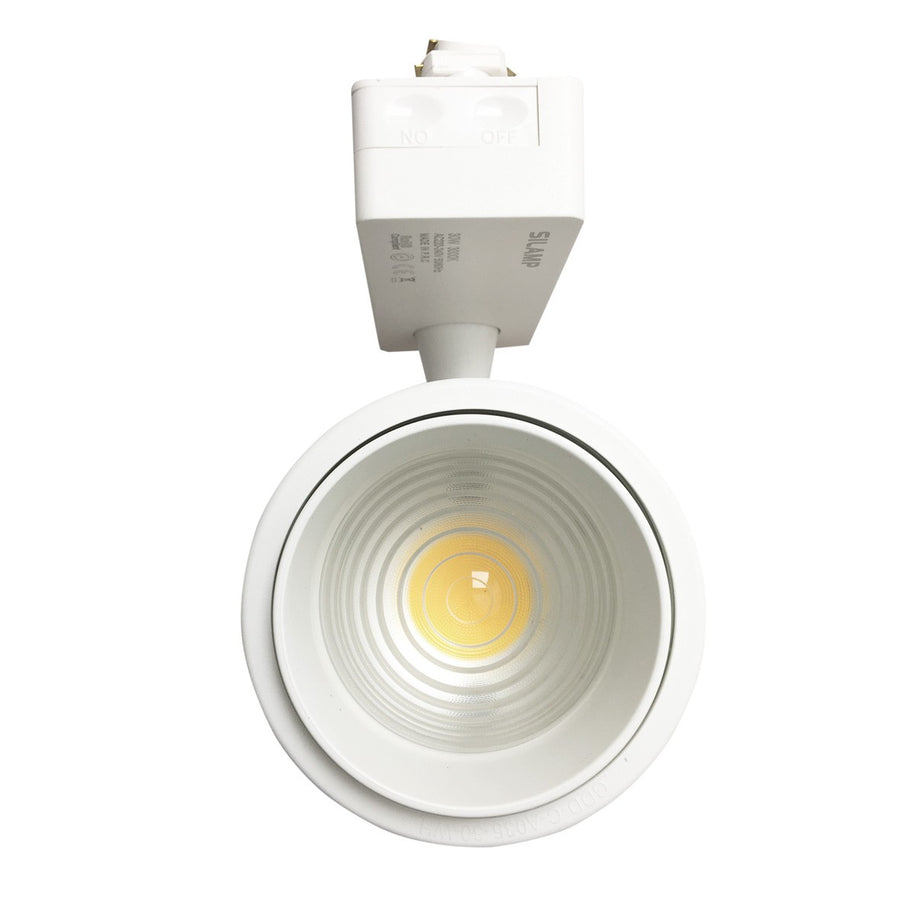
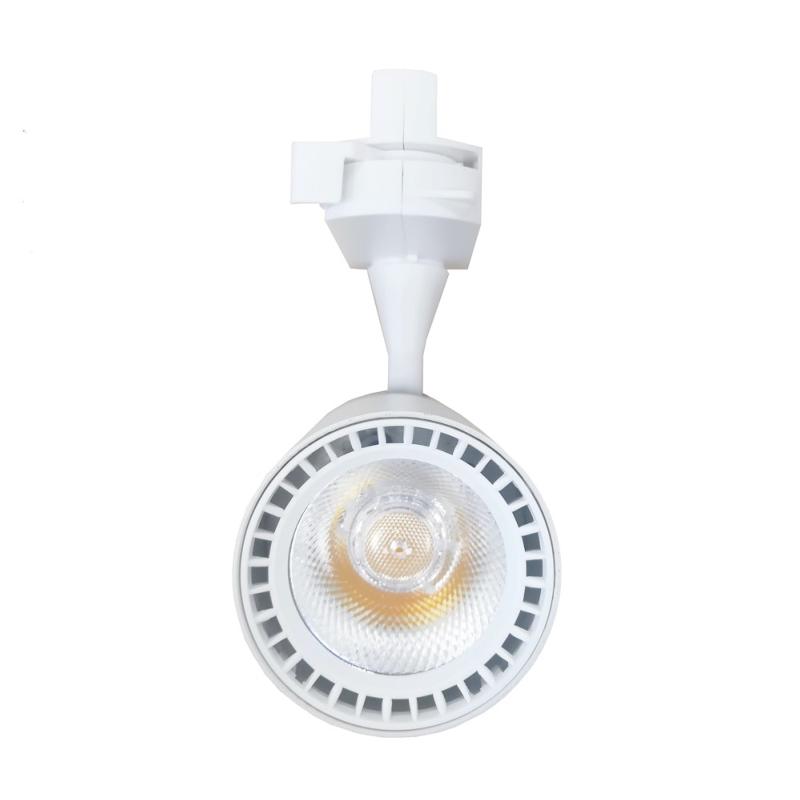
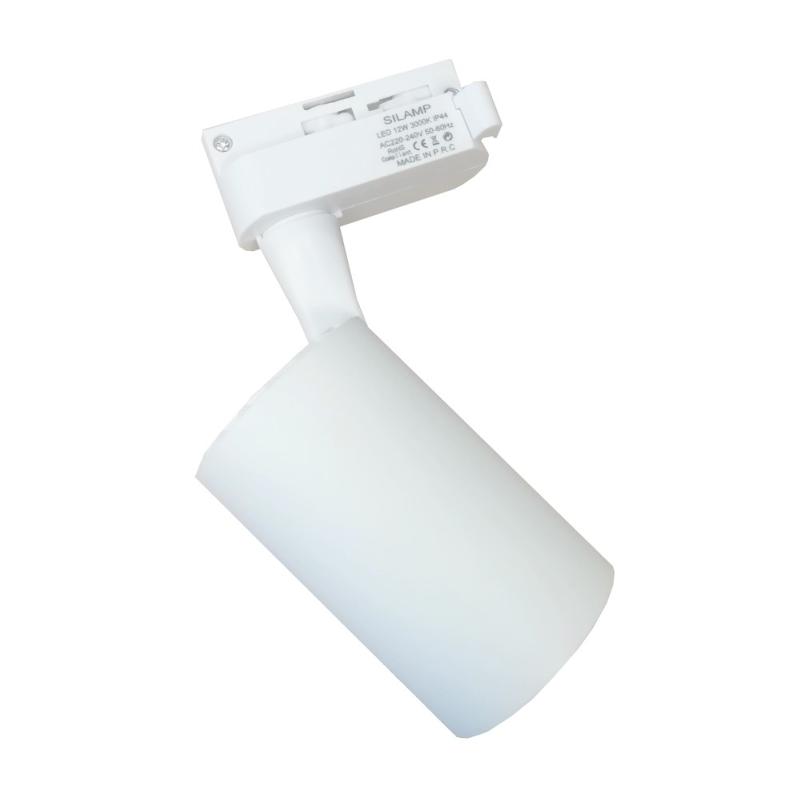
When you install lighting on a ceiling rail, you must always make sure you choose the right one spot for spot. There are indeed different types, each of them with its own specificities. For example, a rail light with a 1 phase rail is the simplest. THE single -phase rail is only fed by a single source of current, and all the spots associated with it light up and turn off simultaneously. These rails for spot 1 phase can also be available in two forms. The one with a voltage of 12 volts requires a transformer to operate. In addition, its power is quite low and you can only use a number of spots defined by the power of the transformer used. However, it is a type of rail that turns out to be particularly compact. On the other hand, lighting on rail with a 230 volt phase rail is much more imposing. It is also easier to install, since it does not require a transformer. It is also more powerful and can accept as many spots as you wish. You can also choose a 3 -phase spot rail, which is called three -phase rail. This mode of lighting on rail on the ceiling offers more freedoms, since it allows you to create groups of spots, which you can turn on or extinguish independent of each other. Please note that you can only define three different groups of spots.
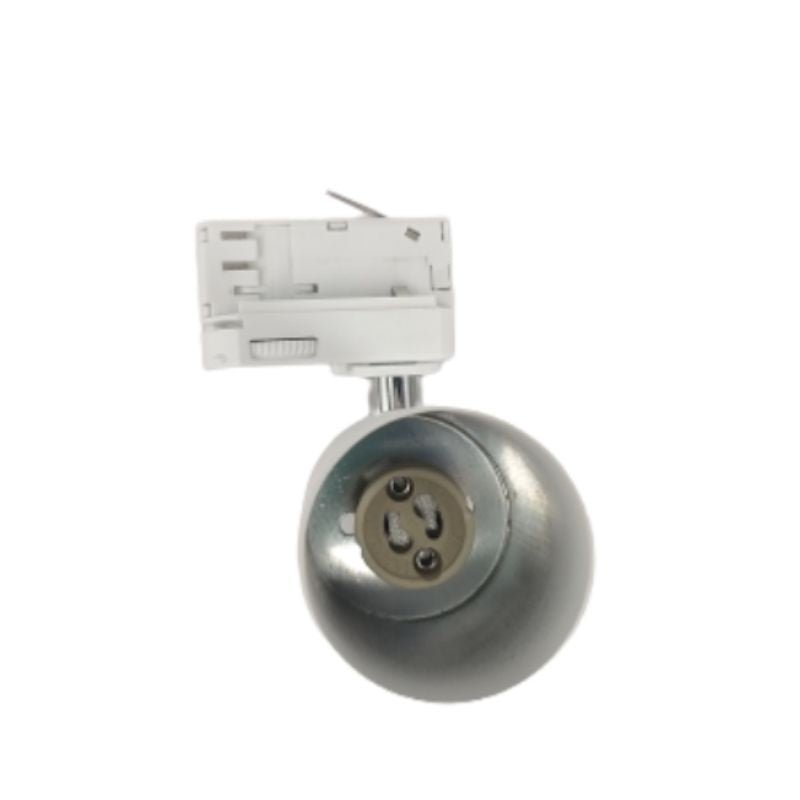
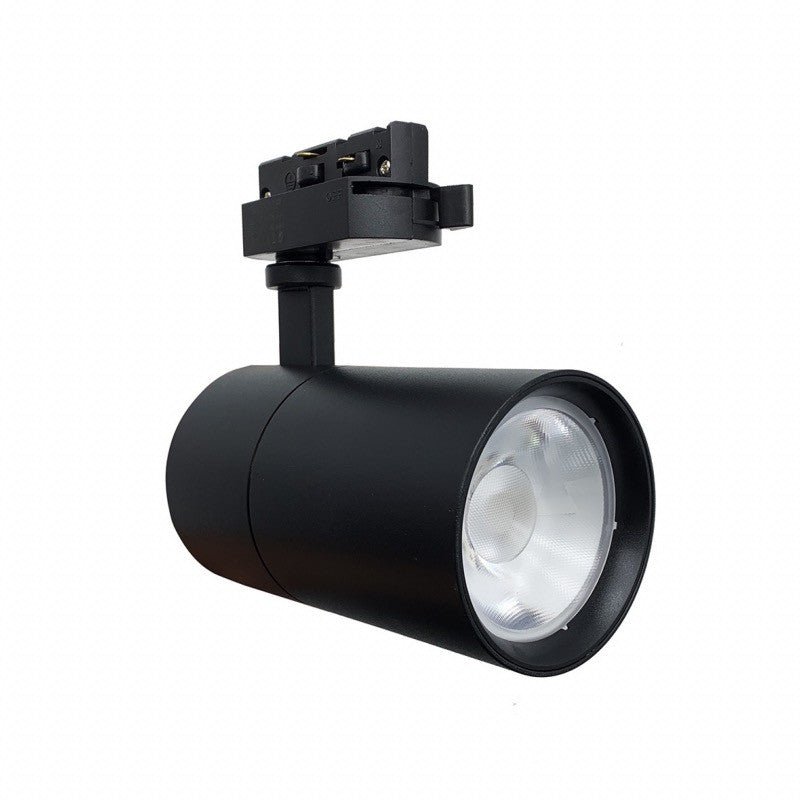
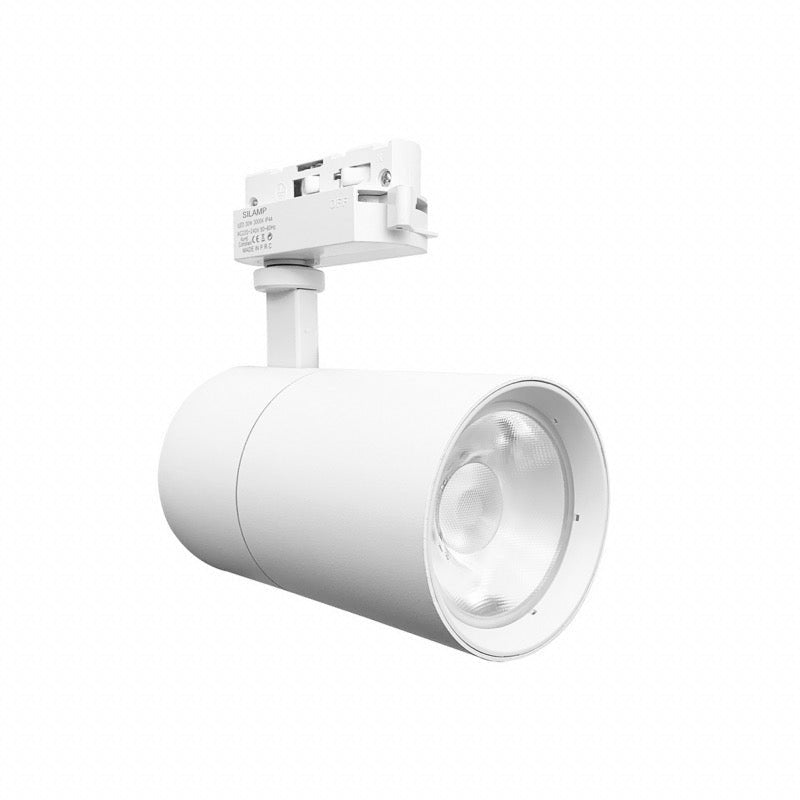
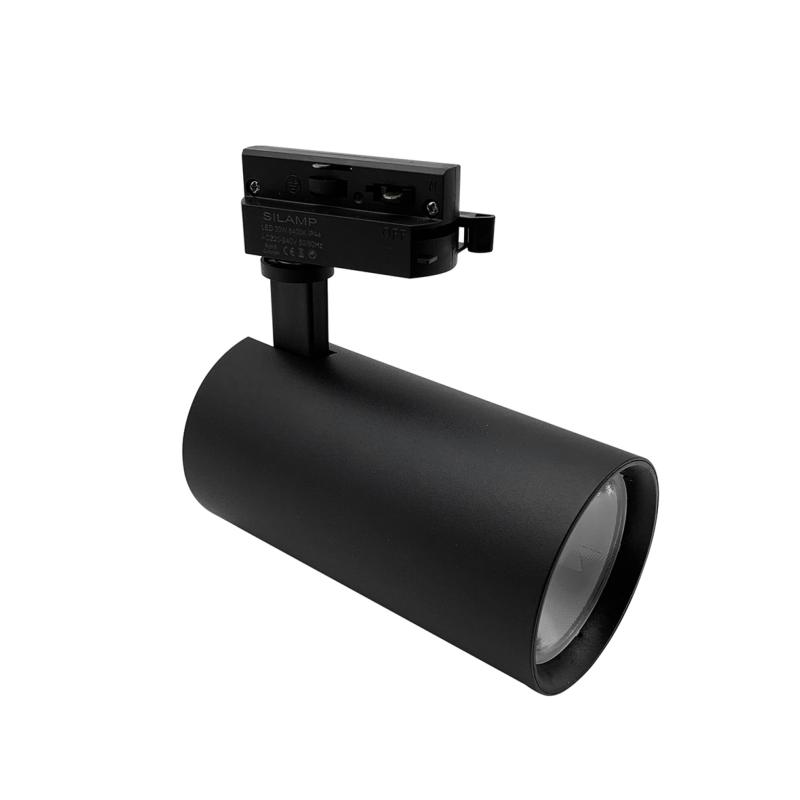
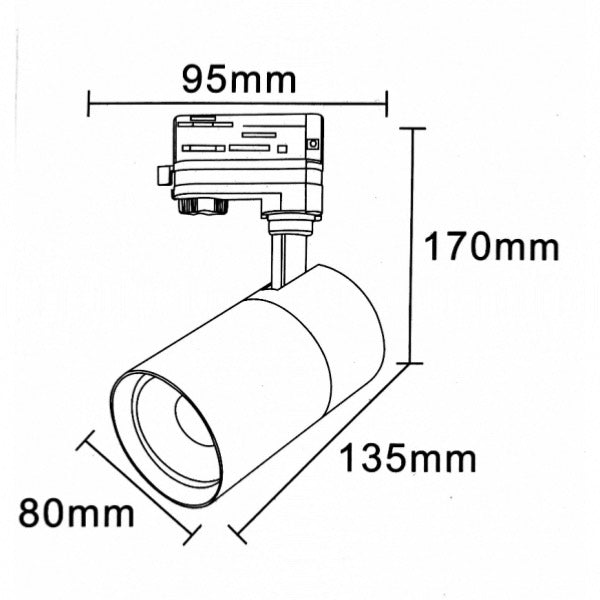
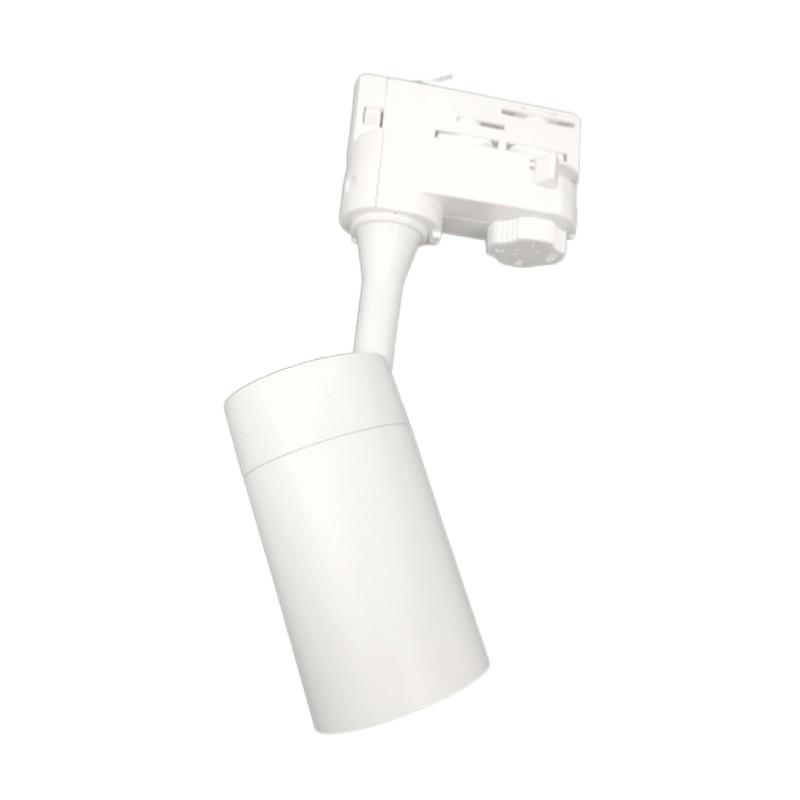
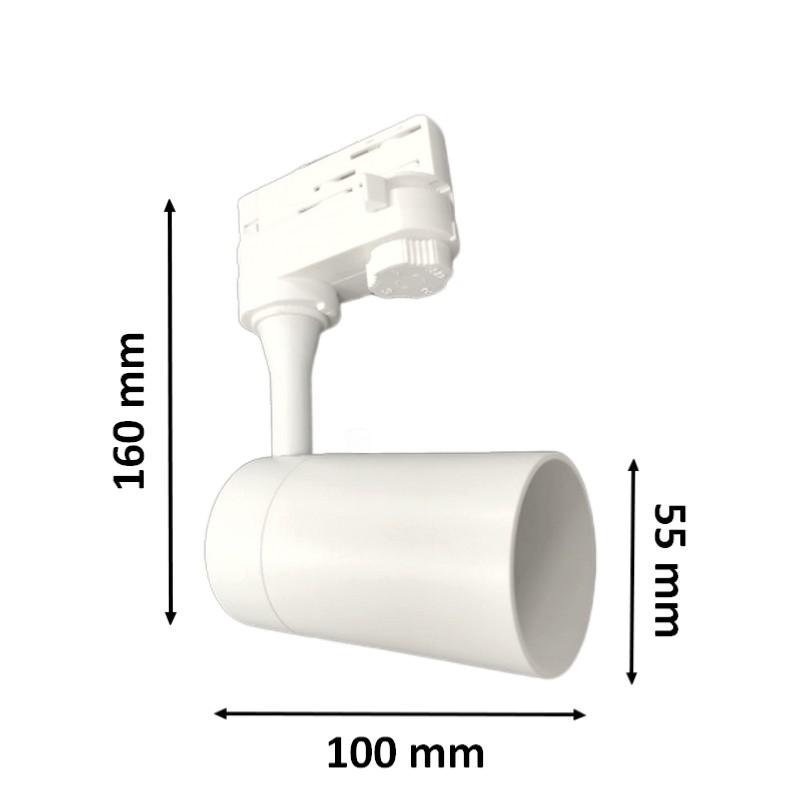
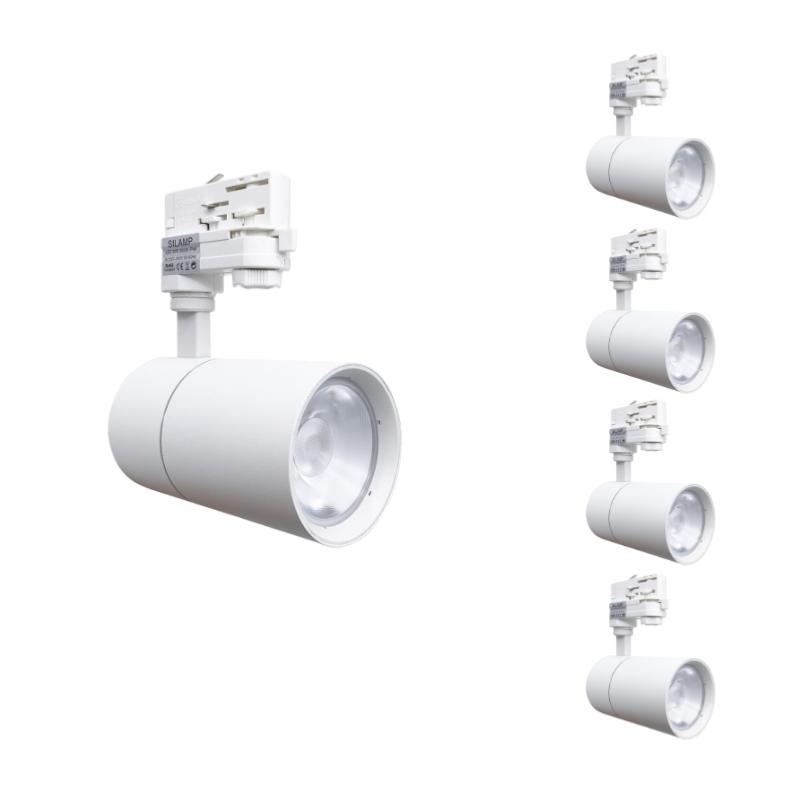
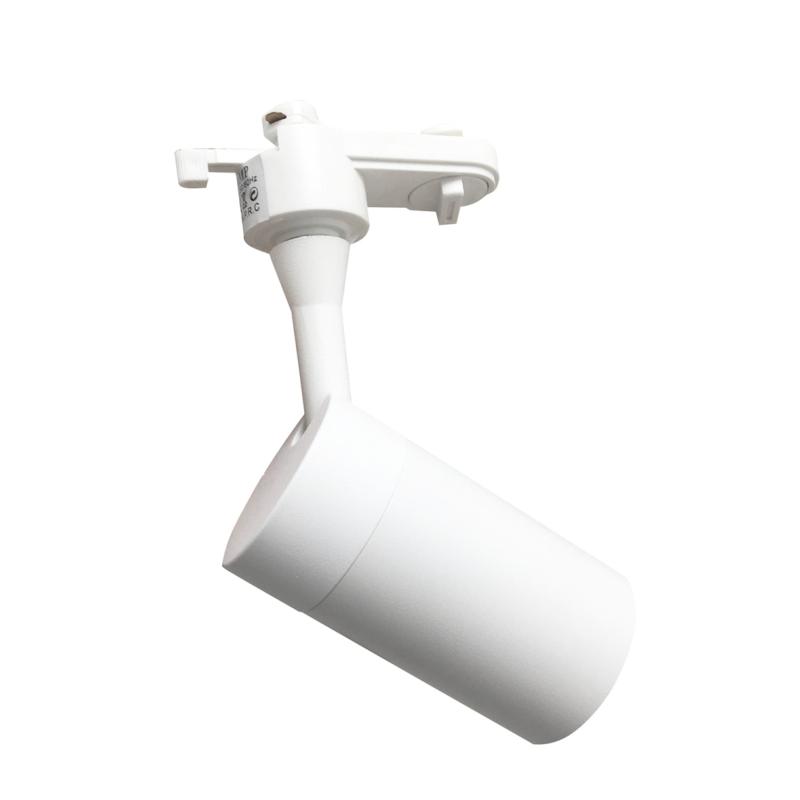
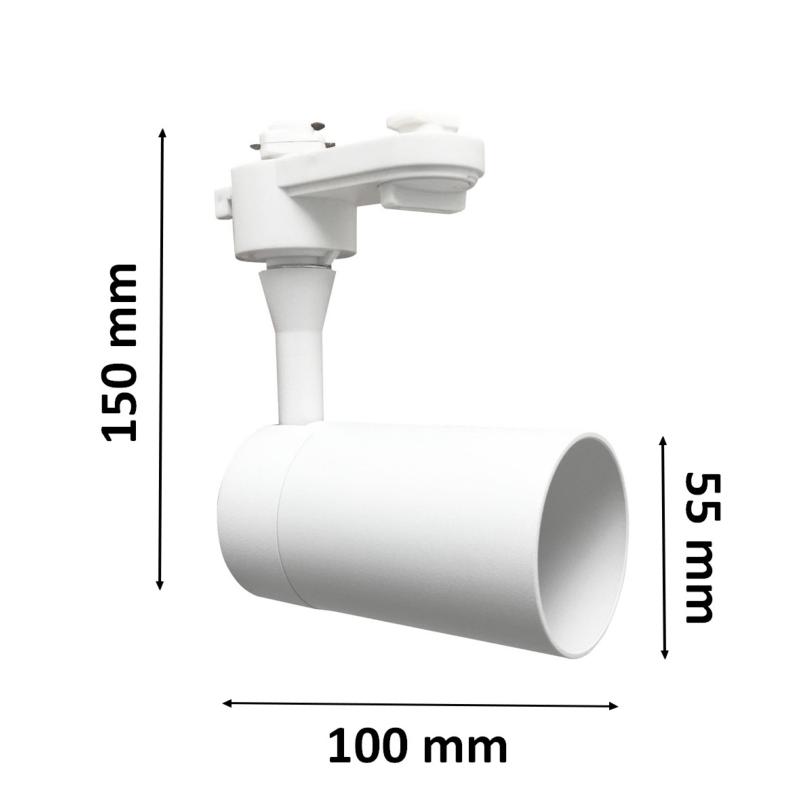
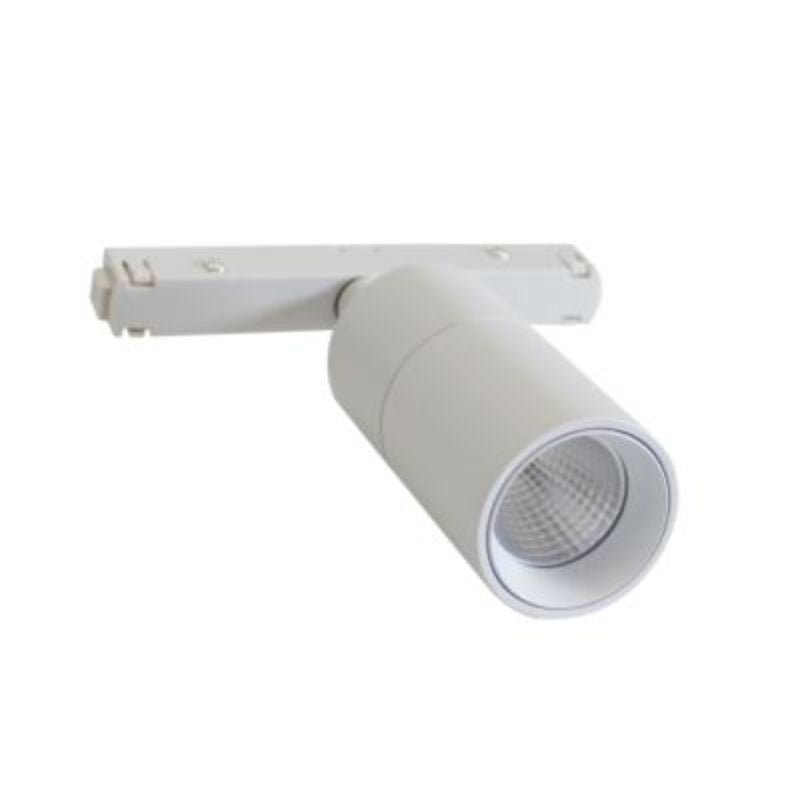
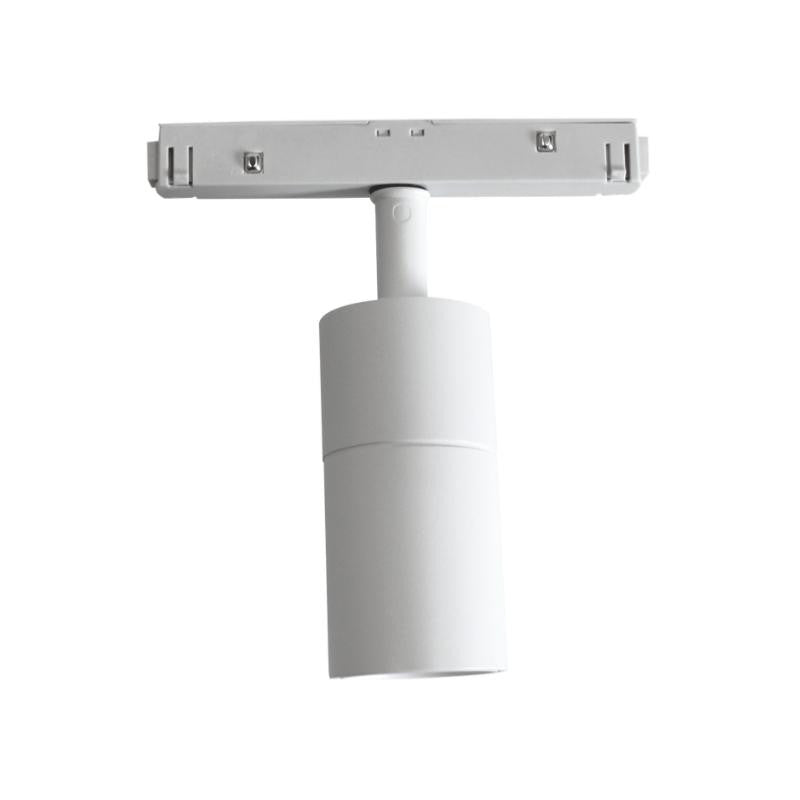
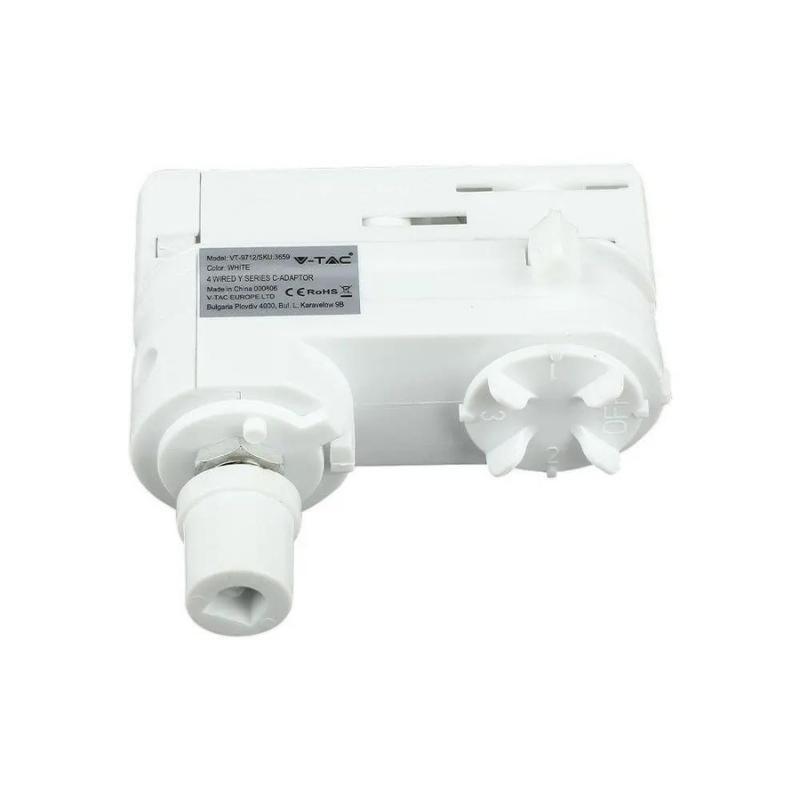
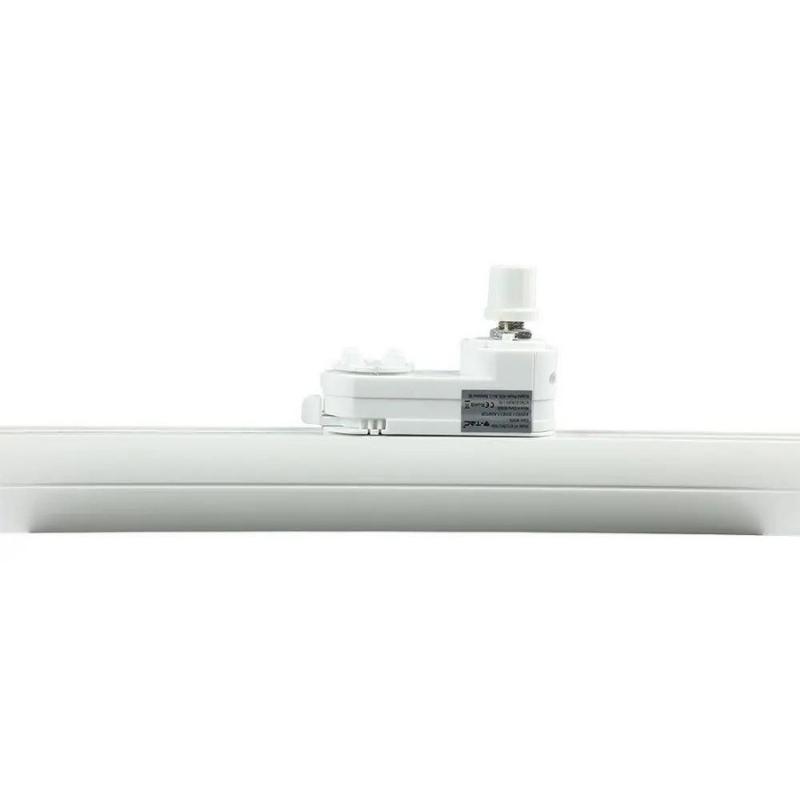
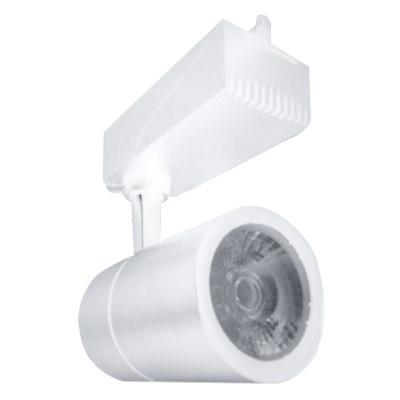
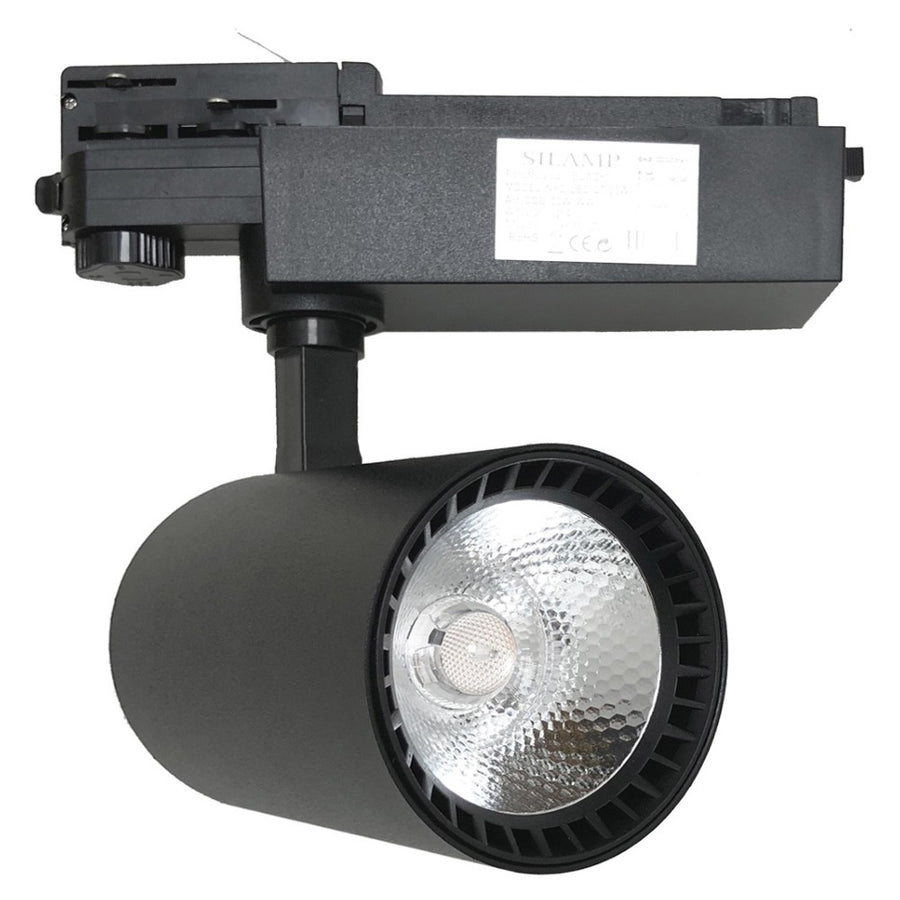
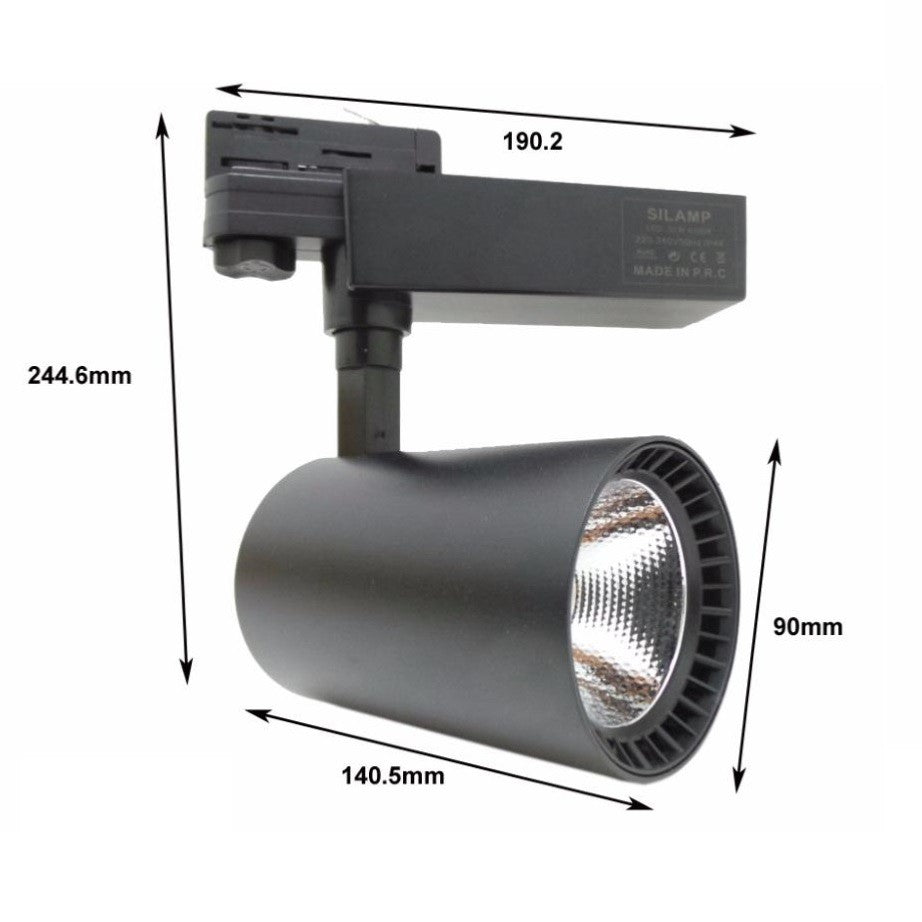
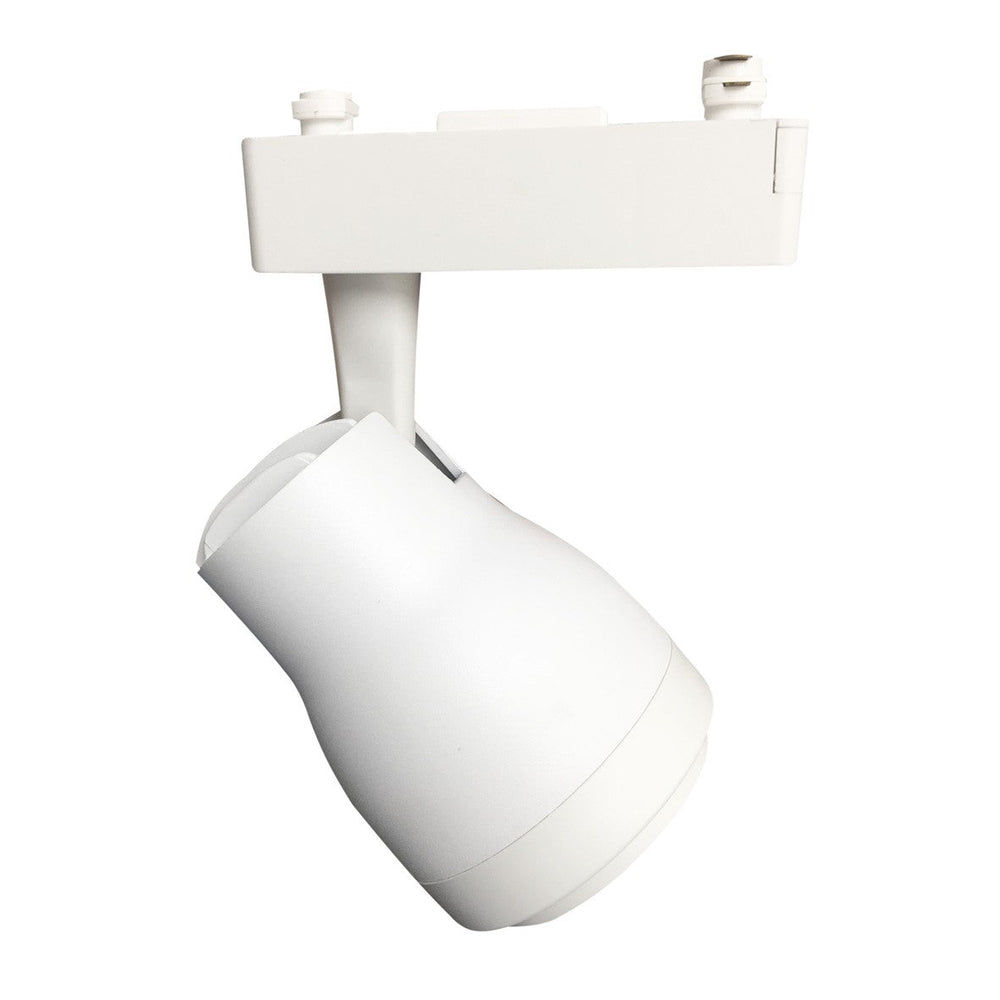
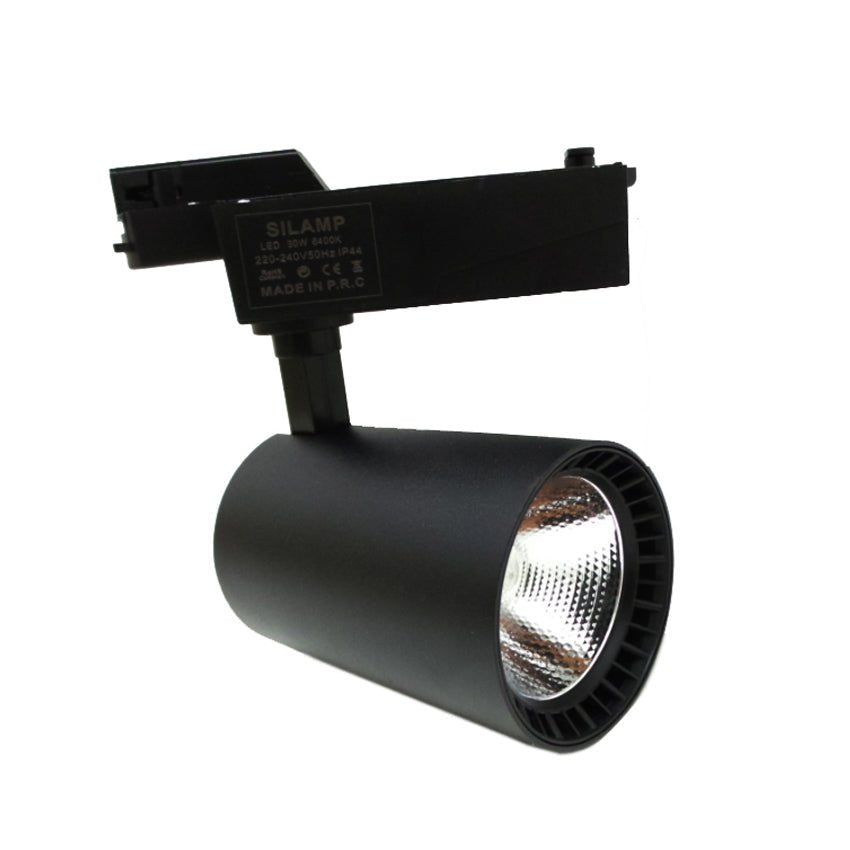
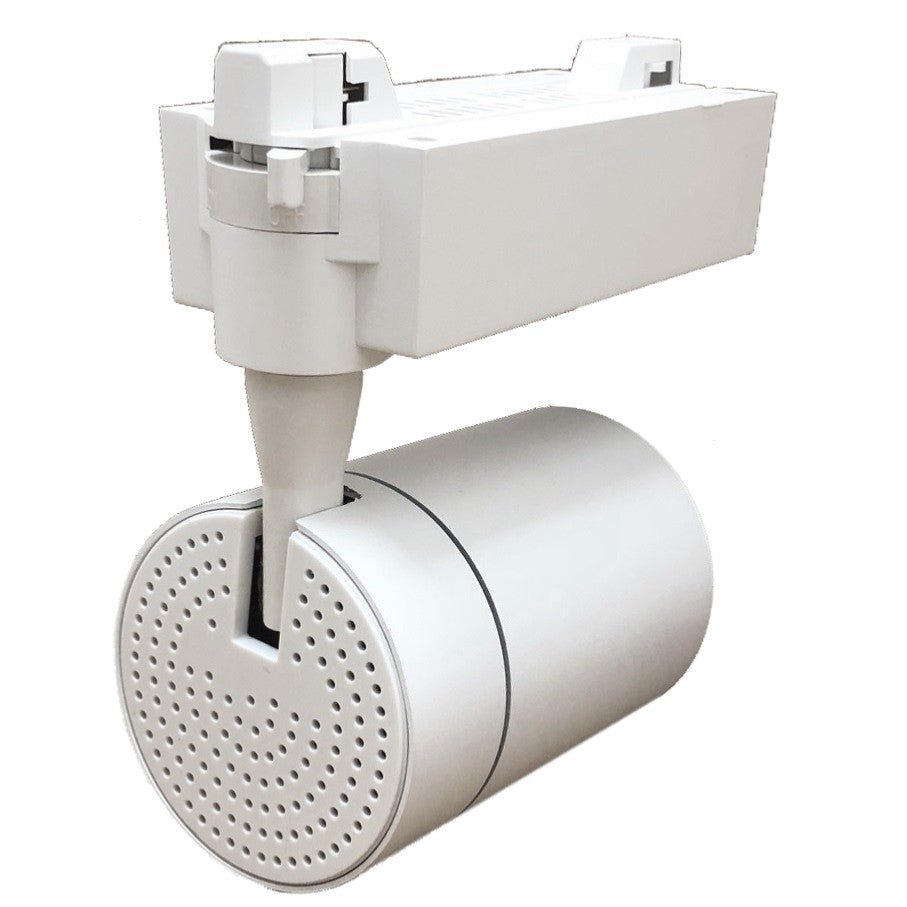
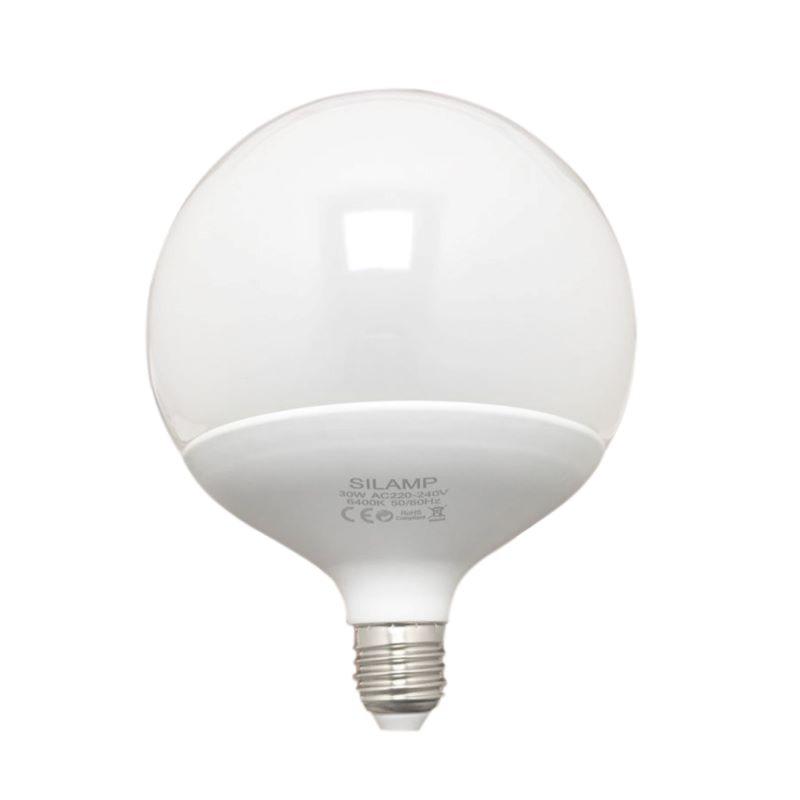
There are many choices concerning spots you can use for your cheap rail lighting. You could for example opt for an adjustable spot or a fixed model. However, all models of rail spots work in the same way. They indeed have a base which acts as a support, but also a connection case. The latter connects directly to the rail, by clipping it, and makes it possible to establish the electrical connection. Please also note that if you want to use conventional spots, it is possible to use an adapter, which leaves you a great freedom on the choice of your bulb. However, we still advise you to opt for a LED spot that is planned to operate with a rail. This allows you to benefit from very effective and functional ceiling lighting. For your rail lighting, you can use spots with single -phase, three -phase or GU10 bulbs. The latter characterizes a bulb whose pins are spaced 10 millimeters spaced while the single -phase and three -phase bulbs are respectively compatible with the eponymous rails.
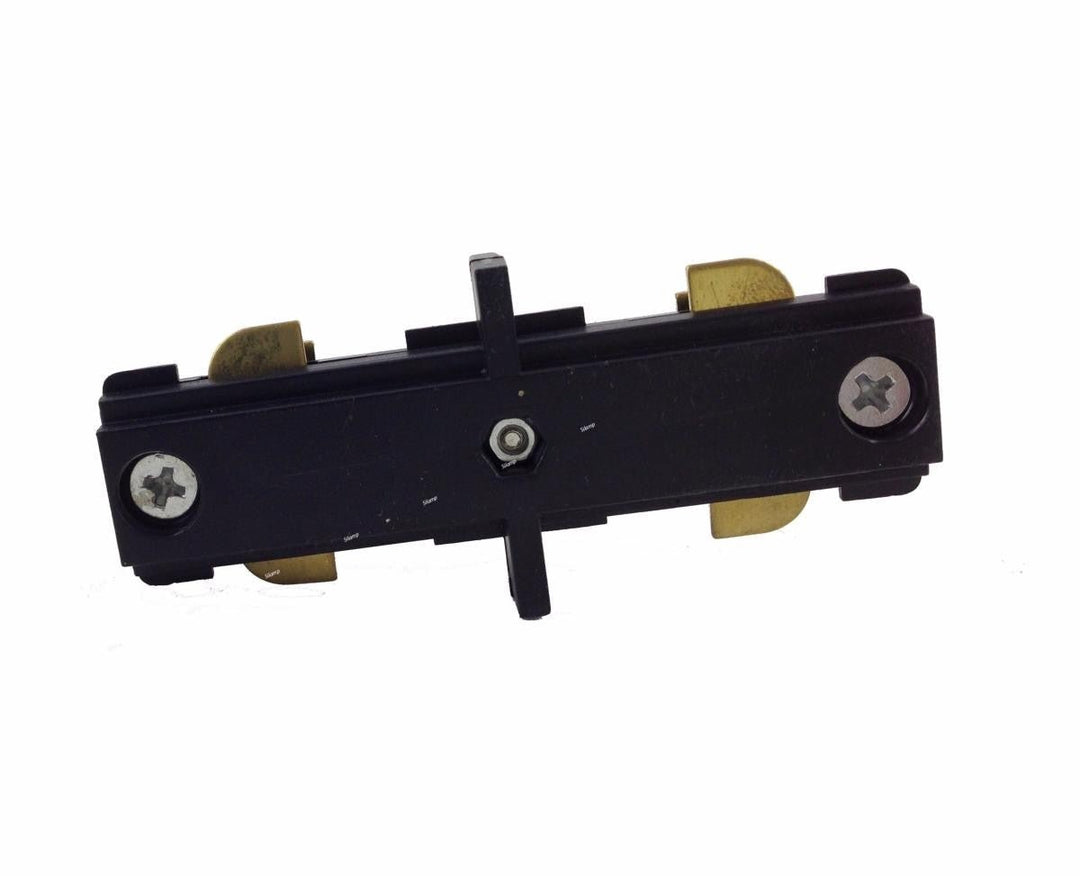
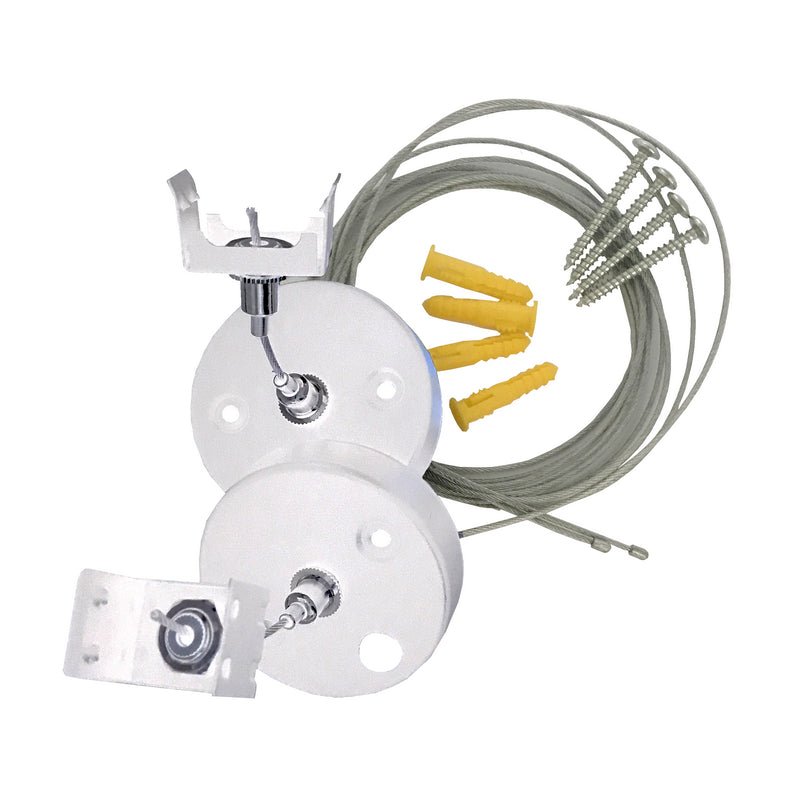
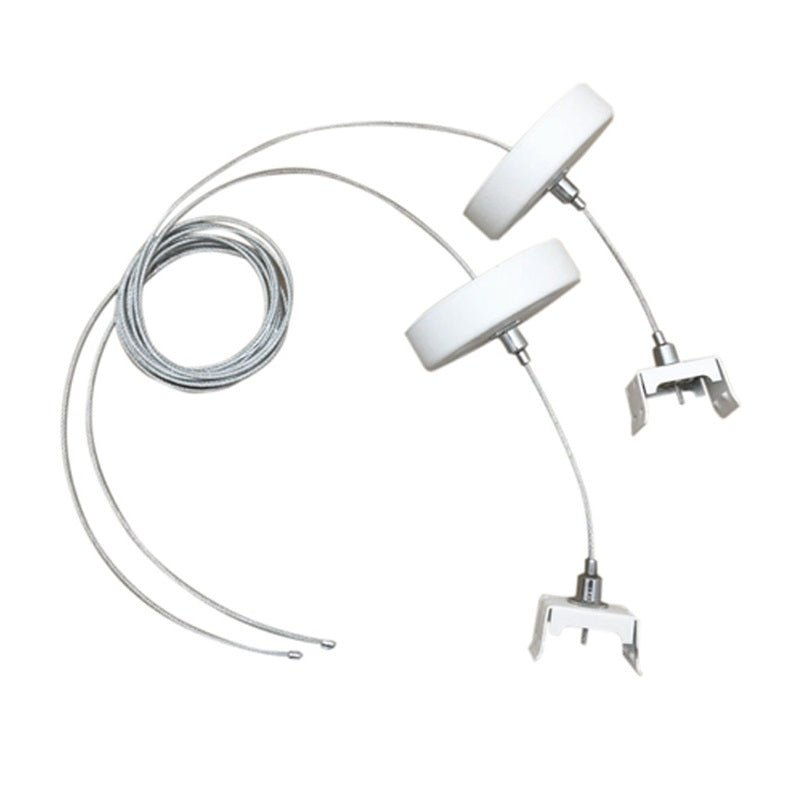
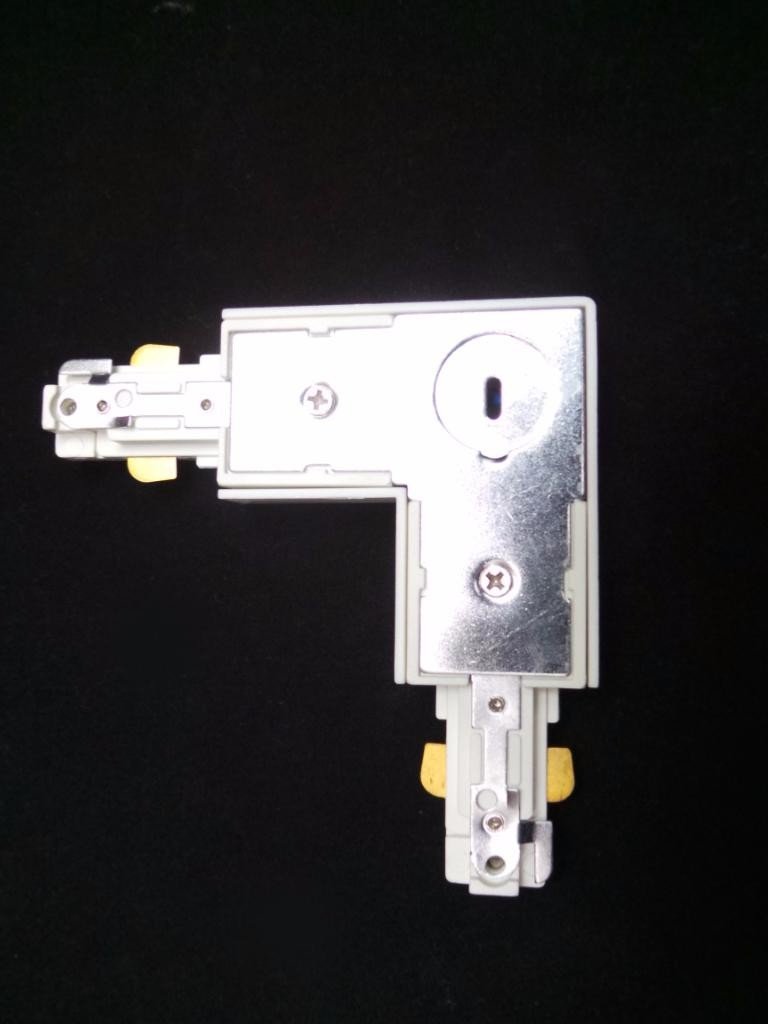
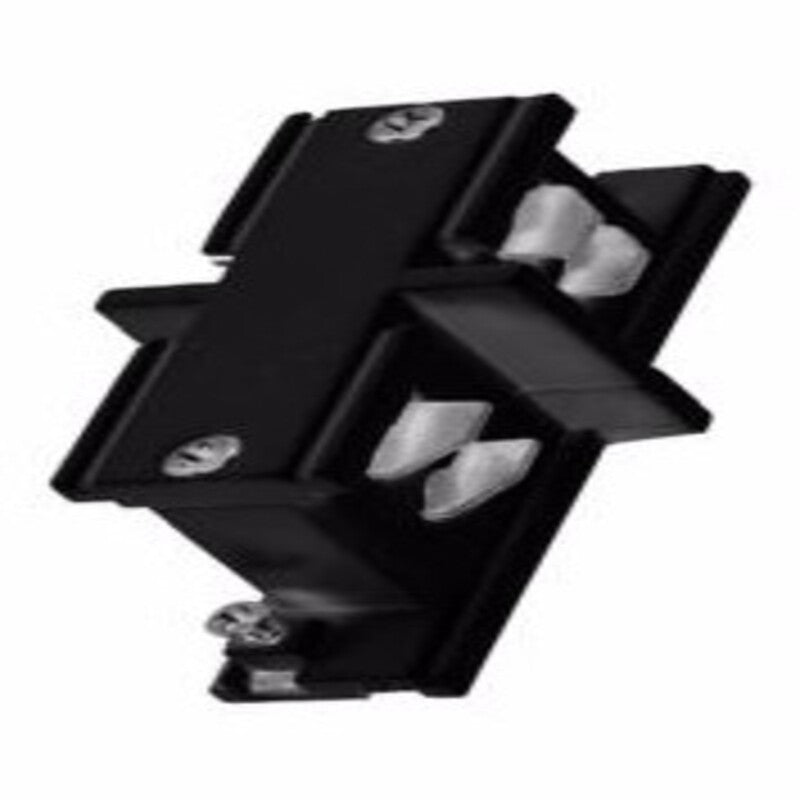
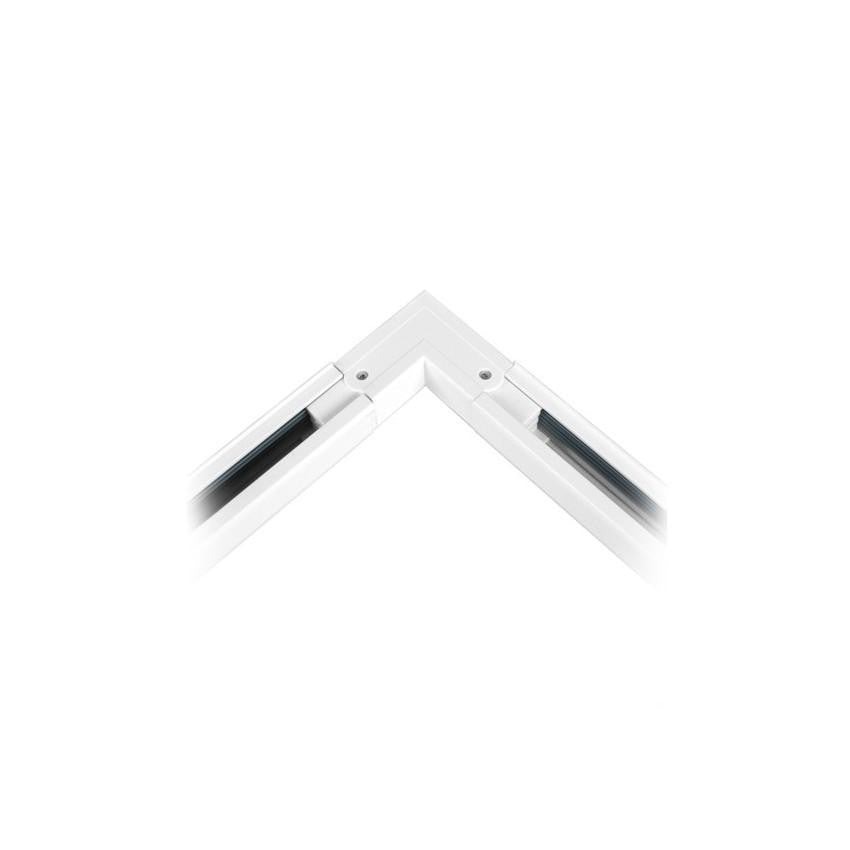
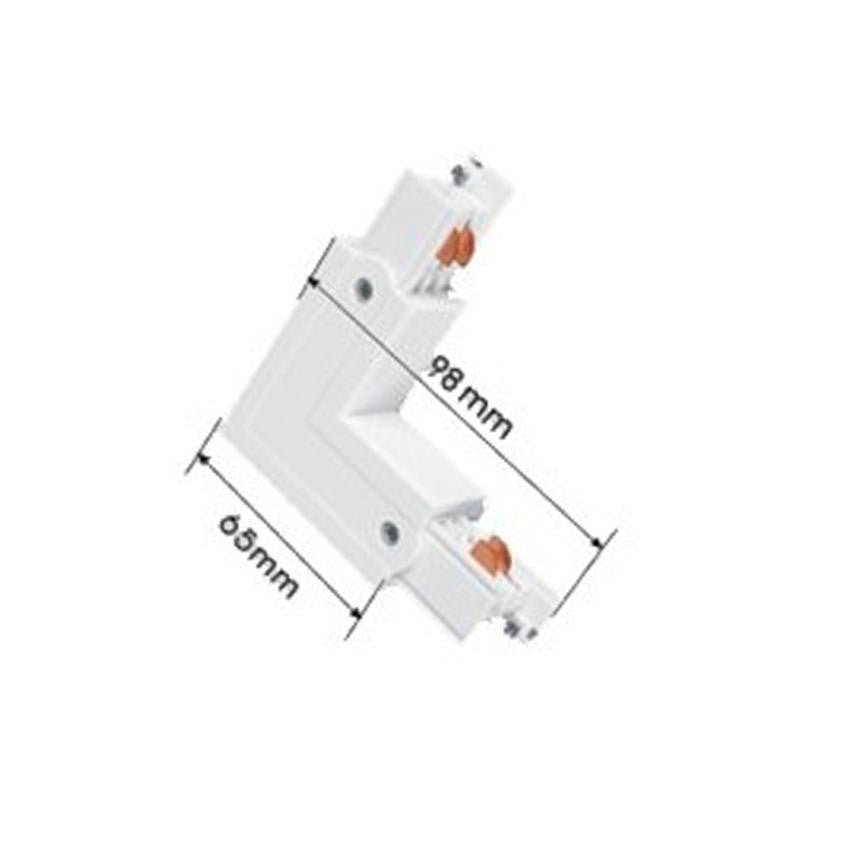
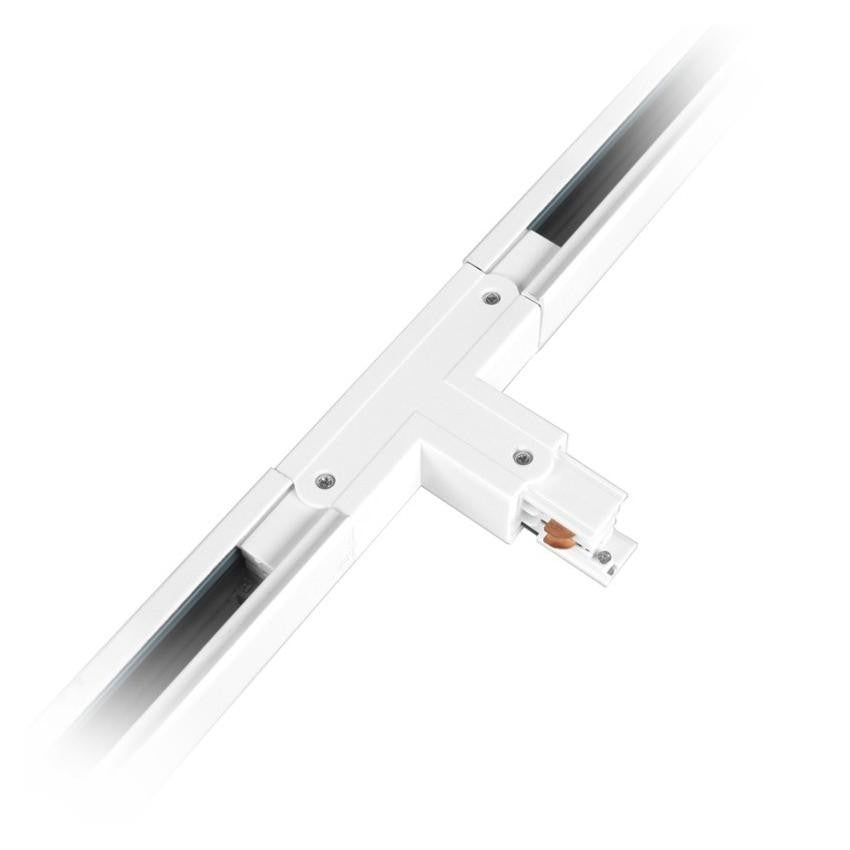
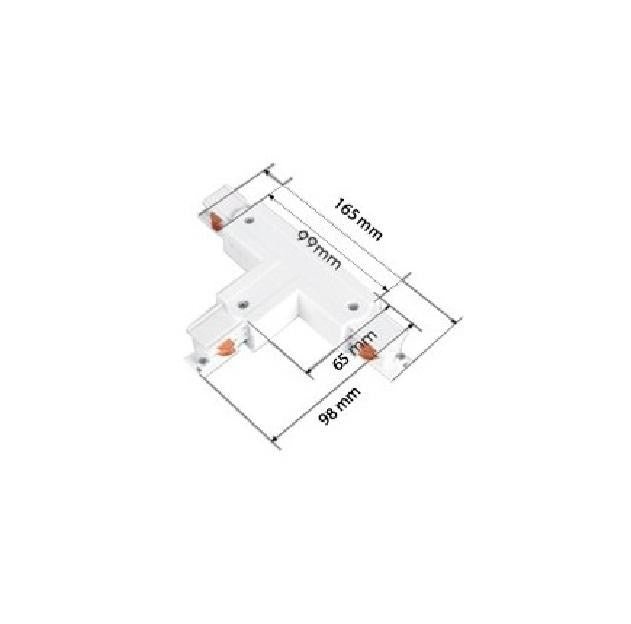
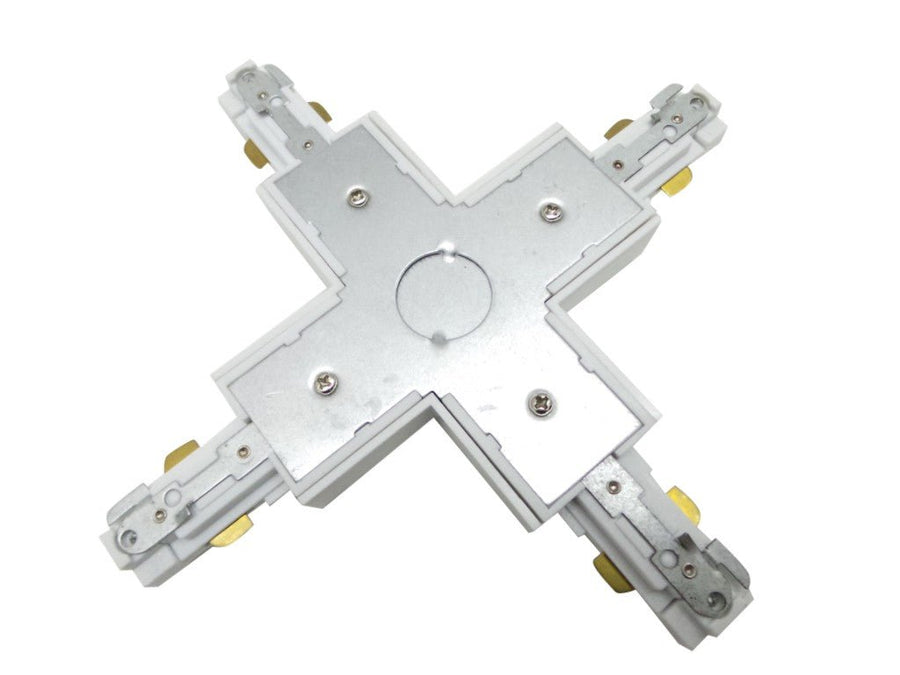
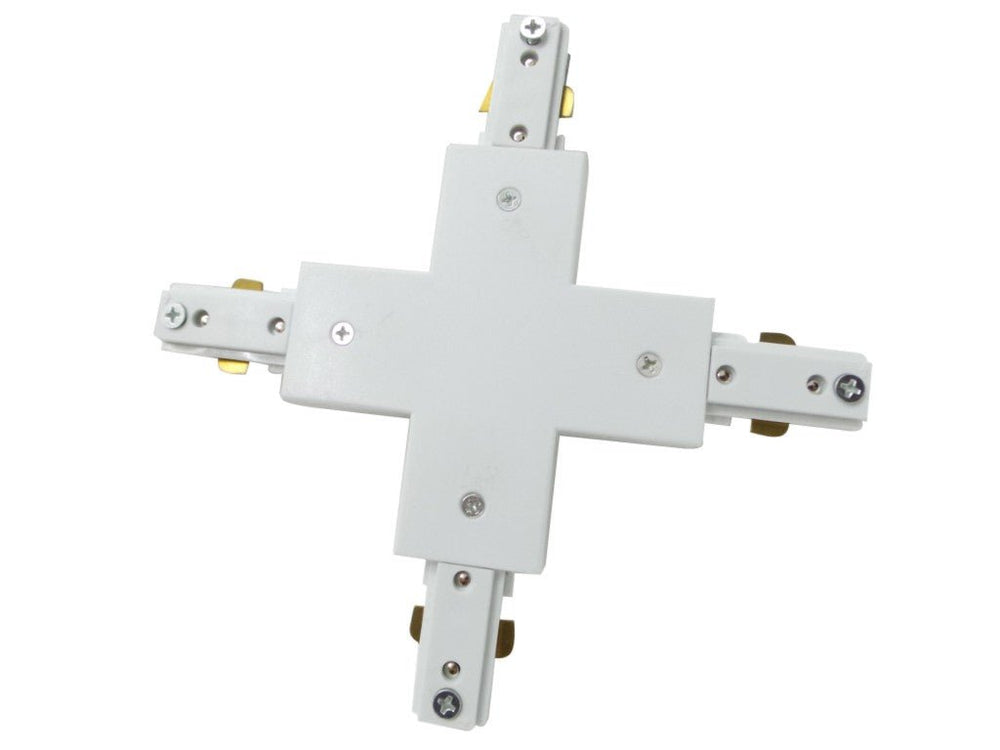
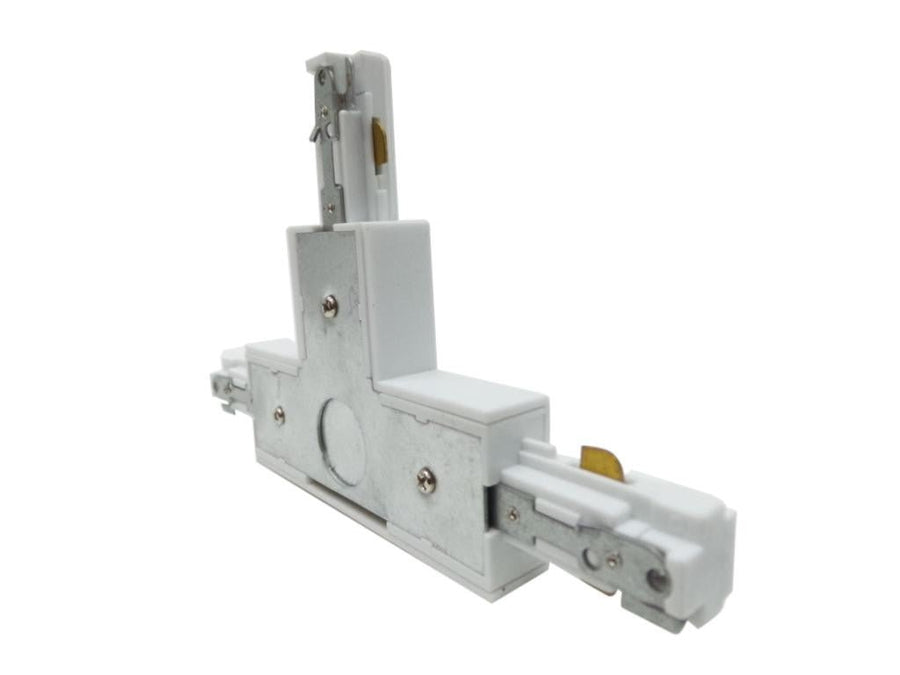
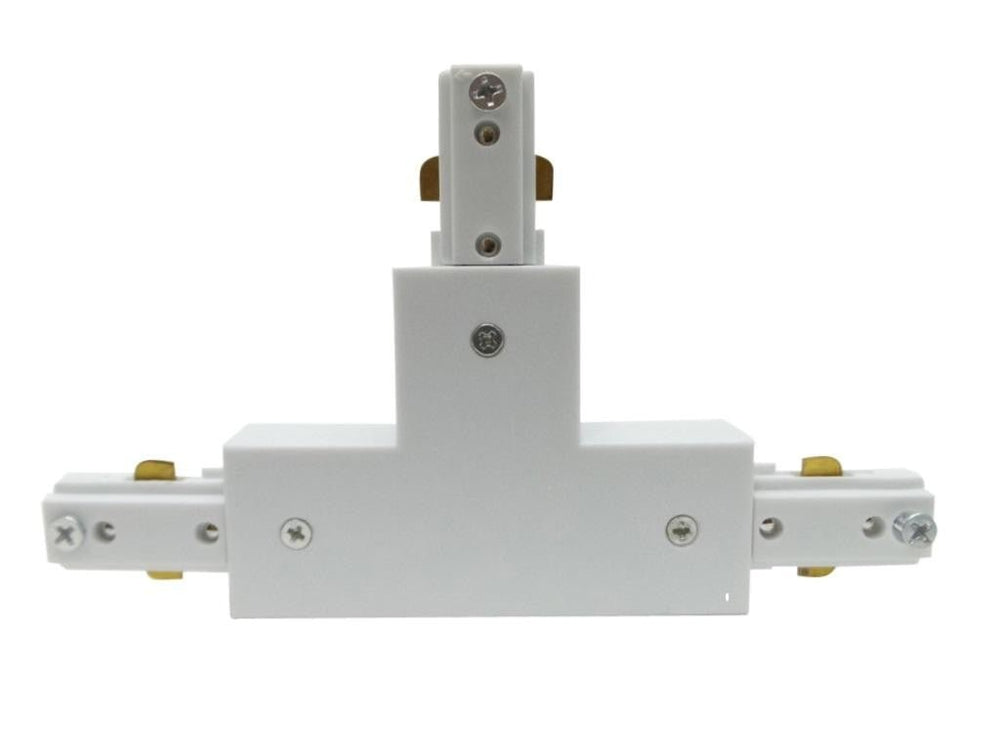
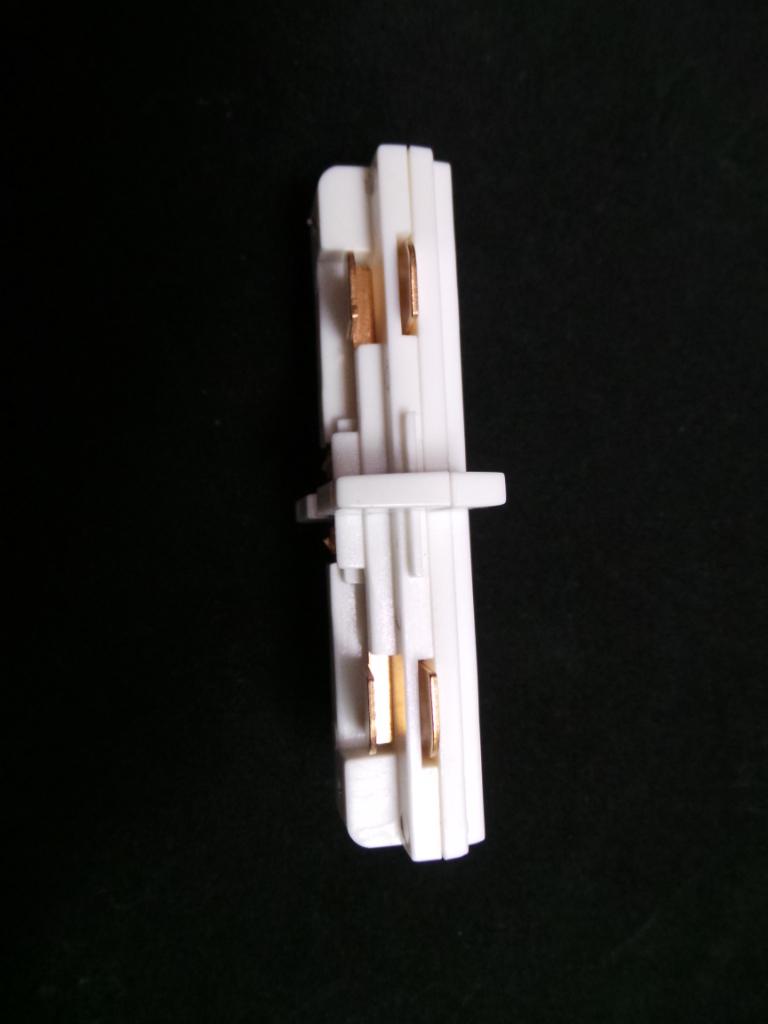
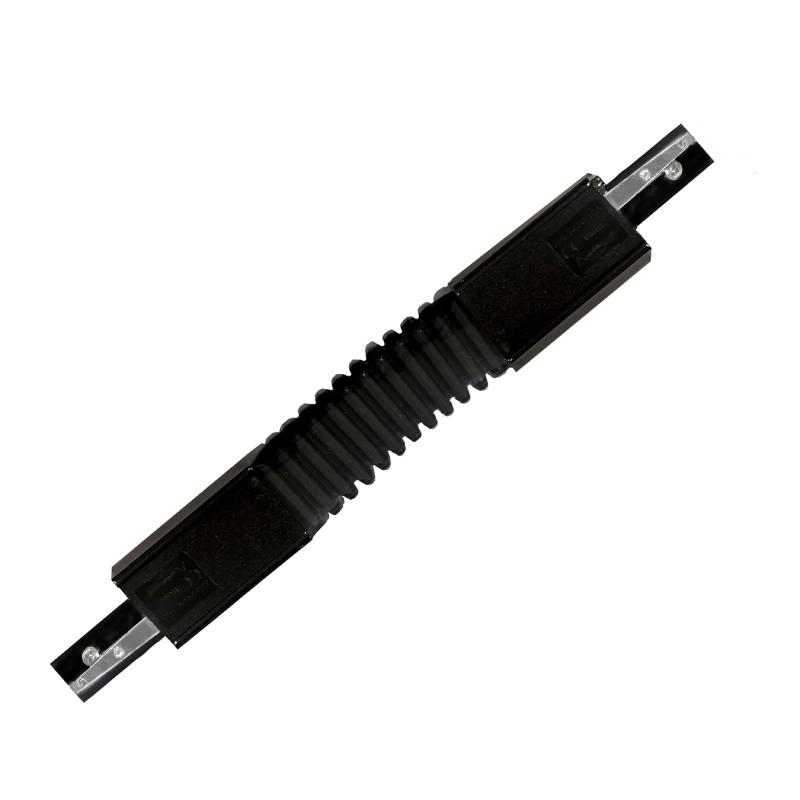
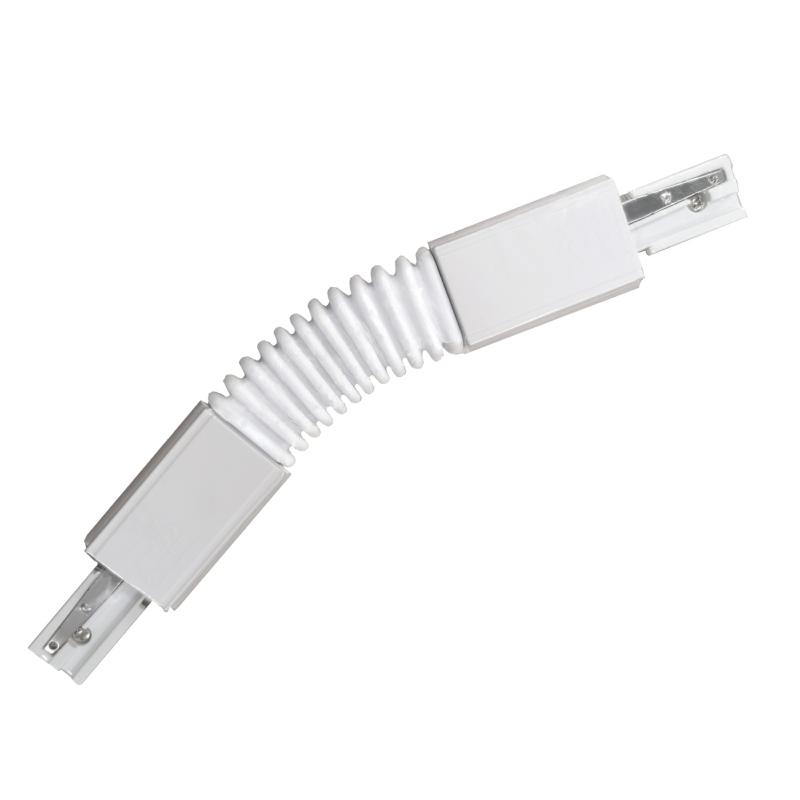
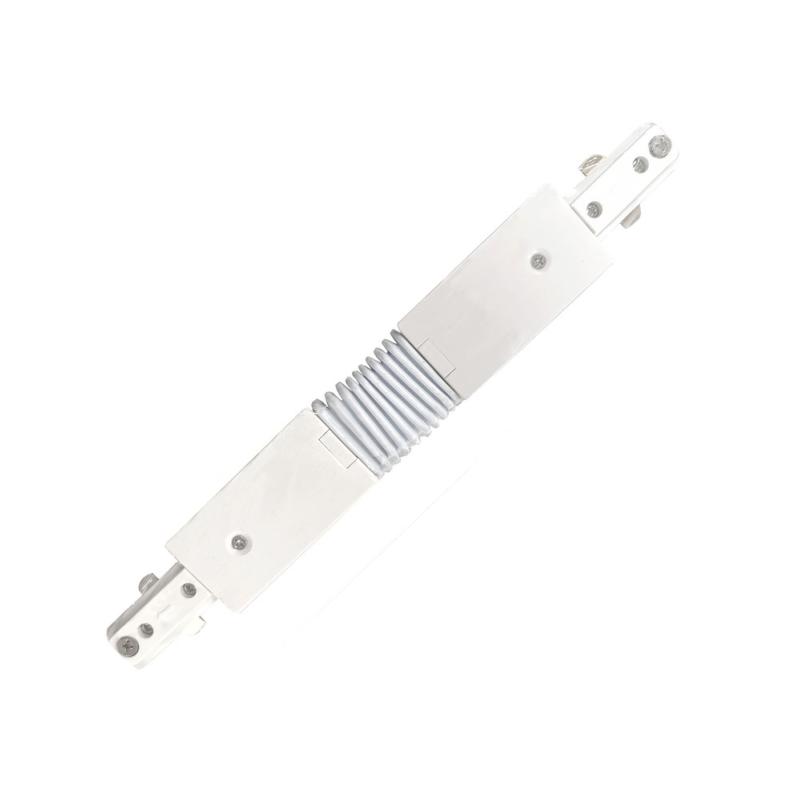
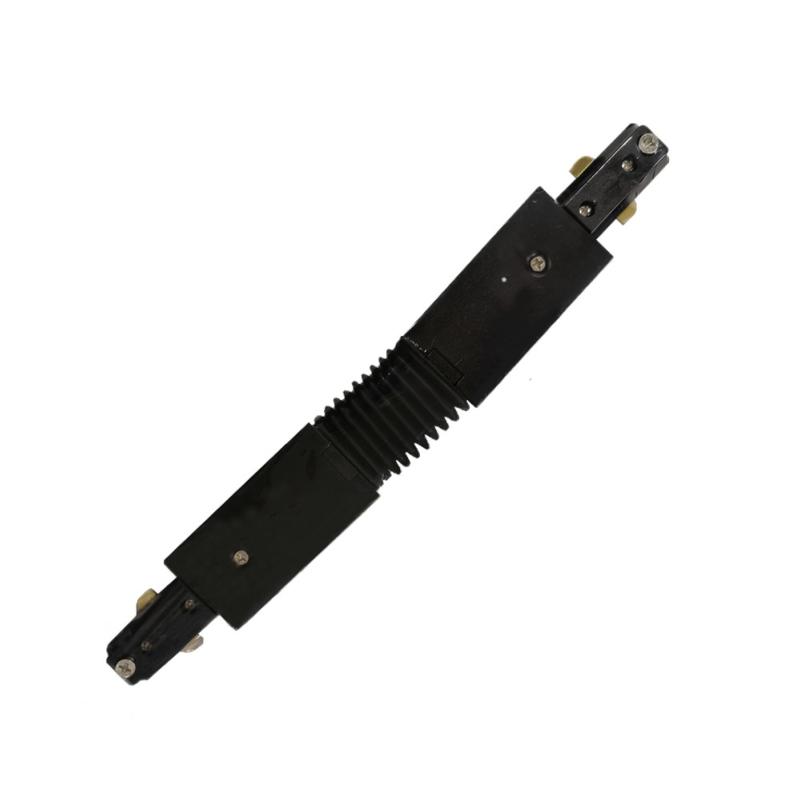
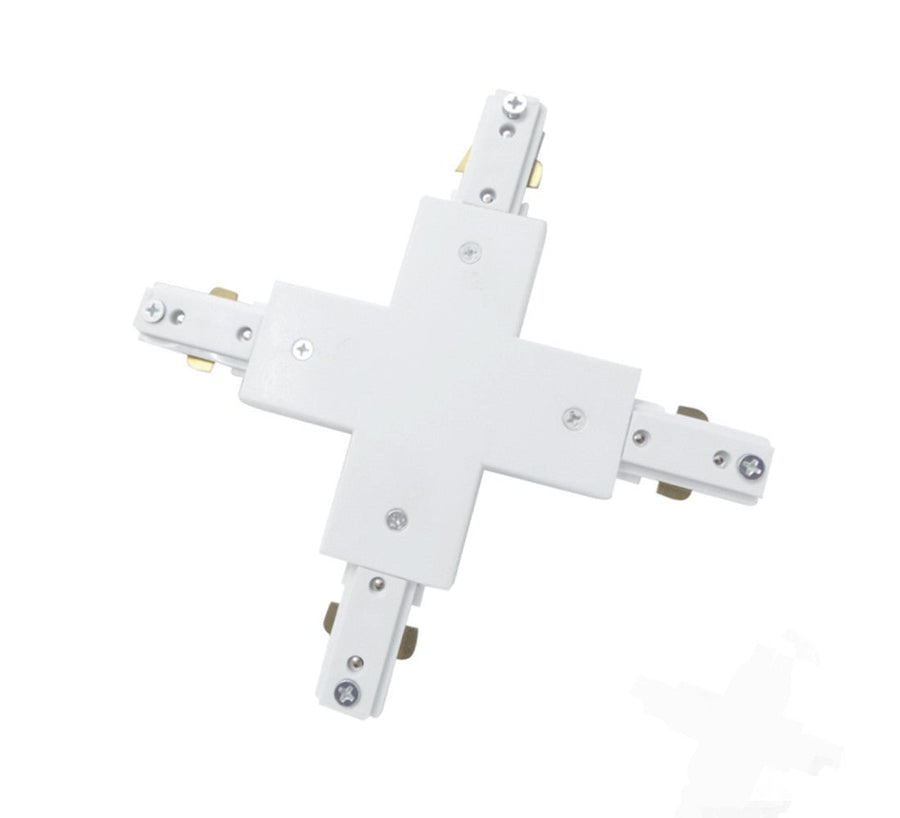
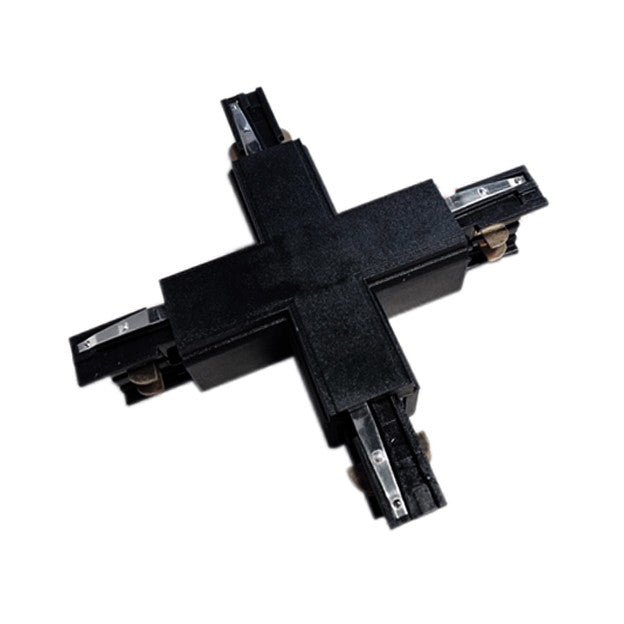
When you have one or more rail lights, it is important to use Rail connectors. These are indeed very important and allow connect your lights to rail to each other. It is a type of accessories that works as well with all types of spots. However, you must still make your choice between several models of different shapes. You can indeed find connectors for Lighting on cheap rail in the shape of T, X or right angle. You must therefore choose your connectors (s) according to the shape you want to give to your lighting on rail. Obviously, all connectors models can be used with any type of spot.
Before starting Installation of your lighting lights on the ceiling, you need to make sure it goes safe. For this to be the case, you must above all cut the general electricity. In addition, you should also use suitable tools. The latter must in particular have insulating sleeves. You must then choose where you want to install your lighting on rail and mark the location of the holes with a pencil. Once it’s done, you have to pierce the holes and fix the mobile tab. These allow you to immobilize the rail and make sure that your lighting on rail is perfectly fixed. You must then set up the rail. For aesthetic reasons, it is often preferable to place your luminaire near an electrical arrival. You must then draw the wires enough to easily make the connection. It is then necessary to do the electrical connection. To do this, you must connect the wires in the appropriate way, that is to say the brown, black or red thread on the phase, the light blue thread on the neutral and the green and yellow bicolor wire on the earth. You just have to clip the spots on the rail so that your rail luminaire works perfectly.
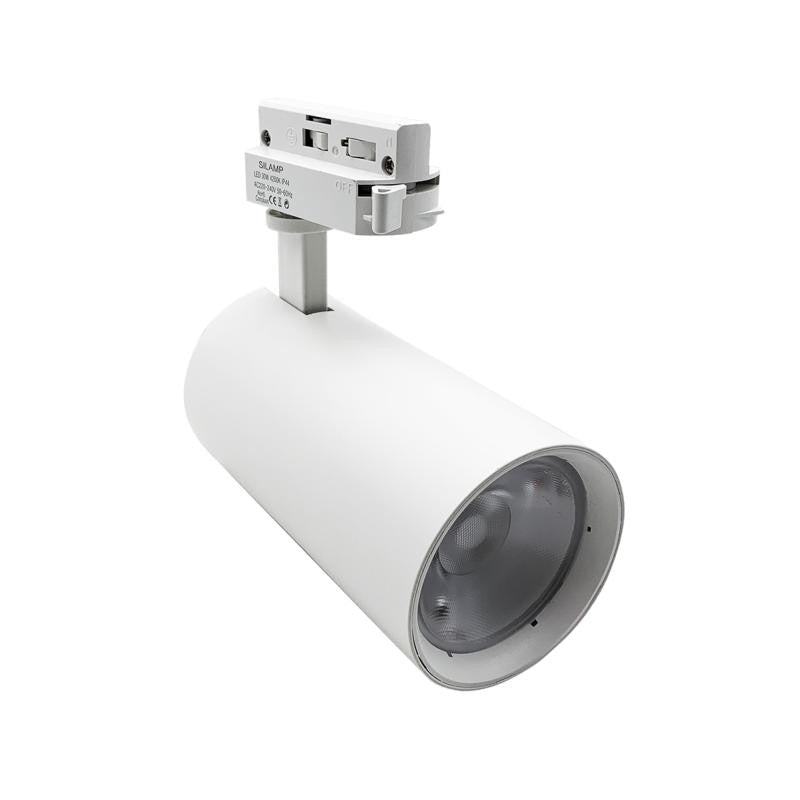
No matter how important you have the best luminaire on rail, it is still important that you also choose the good color. One of the possible choices isopt for lighting on white ceiling rail. This allows you to obtain a fairly neutral and elegant decoration. However, you can also choose a black rail lighting, which makes it possible to create an important contrast. Finally, you could even give your lighting on rail a touch of additional elegance by opting for a golden color.
Single -phase and three -phase lighting are two types of electricity systems used to supply electrical devices and electronic equipment. They both have their own advantages and disadvantages, and they are adapted to different types of applications.
Here are some points that distinguish single -phase and three -phase lighting:
Number of phases: Single -phase lighting uses a single wire to transport electric current, while three -phase lighting uses three wires.
Voltage: Single-phase lighting generally operates on a voltage of 220-240 volts, while three-phase lighting generally operates at a voltage of 380-415 volts.
Power : Triphase lighting can route higher power than single -phase lighting, which makes it more suitable for applications that require a large amount of energy, such as mechanical workshops or factories.
Efficiency : Triphase lighting is generally more effective than single -phase lighting, as it makes it possible to distribute the electrical load more balanced on the three wires.
Cost : The three -phase lighting can be more expensive for purchase than single -phase lighting, due to the need for three wires instead of one.
Applications: Single -phase lighting is generally used in domestic and commercial applications from small to medium size, while three -phase lighting is mainly used in large industrial applications.
In summary, single -phase lighting uses a single wire to transport electric current and is suitable for low -power applications, while three -phase lighting uses three wires and is suitable for high -power applications. It is important to choose the right type of lighting according to your needs and your budget.
" , { "@Type": "Question", "name": "How to install lighting on rail?", "Accept in": { "@Type": "Answer", "Text": "Here are the general steps to follow to install lighting on rail:
1 - Turn off the electrical supply of the part by cutting the main switch or by disconnecting the circuit breaker which feeds the part. This will protect you against the risk of electric shock during installation.
2 - Install the light rail on the ceiling using the fixings provided. Follow the manufacturer's instructions to find out how to fix the rail securely.
3 - Connect the wires of the light rail to the connection box according to the corresponding colors. The red or brown thread is generally the phase wire, the blue or black wire is generally the neutral wire and the green or yellow wire is generally the earth wire. If you have trouble identifying the wires, you should consult the manufacturer's instructions or request the help of a professional electrician.
4 - Attach the light spots to the light rail using the fixings provided. Make sure the spots are securely fixed and that they do not hang in an unstable manner.
5 - Turn on the power supply to the part and test the light spots to make sure they are working properly.
" ]Single -phase and three -phase lighting are two types of electricity systems used to supply electrical devices and electronic equipment. They both have their own advantages and disadvantages, and they are adapted to different types of applications.
Here are some points that distinguish single -phase and three -phase lighting:
Number of phases: Single -phase lighting uses a single wire to transport electric current, while three -phase lighting uses three wires.
Voltage: Single-phase lighting generally operates on a voltage of 220-240 volts, while three-phase lighting generally operates at a voltage of 380-415 volts.
Power : Triphase lighting can route higher power than single -phase lighting, which makes it more suitable for applications that require a large amount of energy, such as mechanical workshops or factories.
Efficiency : Triphase lighting is generally more effective than single -phase lighting, as it makes it possible to distribute the electrical load more balanced on the three wires.
Cost : The three -phase lighting can be more expensive for purchase than single -phase lighting, due to the need for three wires instead of one.
Applications: Single -phase lighting is generally used in domestic and commercial applications from small to medium size, while three -phase lighting is mainly used in large industrial applications.
In summary, single -phase lighting uses a single wire to transport electric current and is suitable for low -power applications, while three -phase lighting uses three wires and is suitable for high -power applications. It is important to choose the right type of lighting according to your needs and your budget.
Here are the general steps to follow to install lighting on rail:
1 - Turn off the electrical supply of the part by cutting the main switch or by disconnecting the circuit breaker which feeds the part. This will protect you against the risk of electric shock during installation.
2 - Install the light rail on the ceiling using the fixings provided. Follow the manufacturer's instructions to find out how to fix the rail securely.
3 - Connect the wires of the light rail to the connection box according to the corresponding colors. The red or brown thread is generally the phase wire, the blue or black wire is generally the neutral wire and the green or yellow wire is generally the earth wire. If you have trouble identifying the wires, you should consult the manufacturer's instructions or request the help of a professional electrician.
4 - Attach the light spots to the light rail using the fixings provided. Make sure the spots are securely fixed and that they do not hang in an unstable manner.
5 - Turn on the power supply to the part and test the light spots to make sure they are working properly.
Voici les étapes générales à suivre pour installer un éclairage sur rail :
1 - Éteignez l'alimentation électrique de la pièce en coupant l'interrupteur principal ou en débranchant le disjoncteur qui alimente la pièce. Cela vous protégera contre les risques de choc électrique pendant l'installation.
2 - Installez le rail de lumière sur le plafond en utilisant les fixations fournies. Suivez les instructions du fabricant pour savoir comment fixer le rail de manière sécurisée.
3 - Branchez les fils du rail de lumière au boîtier de raccordement selon les couleurs correspondantes. Le fil rouge ou marron est généralement le fil de phase, le fil bleu ou noir est généralement le fil neutre et le fil vert ou jaune est généralement le fil de terre. Si vous avez du mal à identifier les fils, vous devriez consulter les instructions du fabricant ou demander l'aide d'un électricien professionnel.
4 - Fixez les spots de lumière sur le rail de lumière en utilisant les fixations fournies. Assurez-vous que les spots sont solidement fixés et qu'ils ne pendent pas de manière instable.
5 - Allumez l'alimentation électrique de la pièce et testez les spots de lumière pour vous assurer qu'ils fonctionnent correctement.

Paiement sécurisé
CB, Paypal, Virement, Mandat

Satisfait ou remboursé
14J pour changer d'avis

Livraison offerte
Dès 59,90€ d'achat

Service client disponible
01-82-88-32-75
Discover our story at Silumen, a family business created in 2017. We sell LED products, connected objects and interior decoration.

Let yourself be guided in the installation of our products with our advice and installation guides developed by our experts.

Discover our best lighting solutions to equip your professional space in a modern and functional way.